Proprioception & Desk Optimization for Better Focus
By Aisha Karim • 28th Apr
Proprioception desk optimization isn't about picking the trendiest peripherals; it's about aligning your workspace to how your nervous system actually navigates space. When your desk geometry matches your natural spatial awareness at the workspace, your focus sharpens because your body stops fighting invisible friction. Your proprioceptive system (the network that tells your brain where your limbs are without looking) thrives on clarity, repeatability, and clearance. A poorly calibrated reach arc forces constant micro-corrections; a measured, intentional setup lets your hands and eyes move on autopilot while your mind stays on the work.
I learned this the hard way. Years ago, I chased chronic wrist pain through keyboards, wrist rests, and ergonomic mice. The real culprit? My keyboard tray collided with a center desk drawer, forcing me into a permanent shrug-forward posture. No brand could fix geometry. Once I mapped my actual reach arcs and measured my under-desk clearances, a simple tray repositioning (not a purchase) solved it. That's when I realized: ergonomics isn't about products. It's about dimensions aligning with bodies.
Why Your Proprioceptive System Matters at Your Desk
Your proprioceptive sense keeps you aware of your body's position in space without conscious thought. In a workspace, this becomes your invisible assistant: it lets you reach for your phone without looking, find your keyboard at the same height every morning, and trust that your chair won't slide when you shift weight. When that trust breaks, when your monitor is 28 inches away one day and 22 the next, or your keyboard height shifts, your nervous system works overtime correcting, recruiting unnecessary muscle tension.
This constant correction is silent, unmeasurable fatigue. It erodes focus. Studies on workspace efficiency show that organized, predictable environments improve both posture and productivity, precisely because your proprioceptive system can relax. A measured desk setup (one with documented clearances, consistent reach distances, and repeatable anchor points) lets your spatial awareness do its job without vigilance. For the why behind predictability and focus, see our workspace psychology guide.
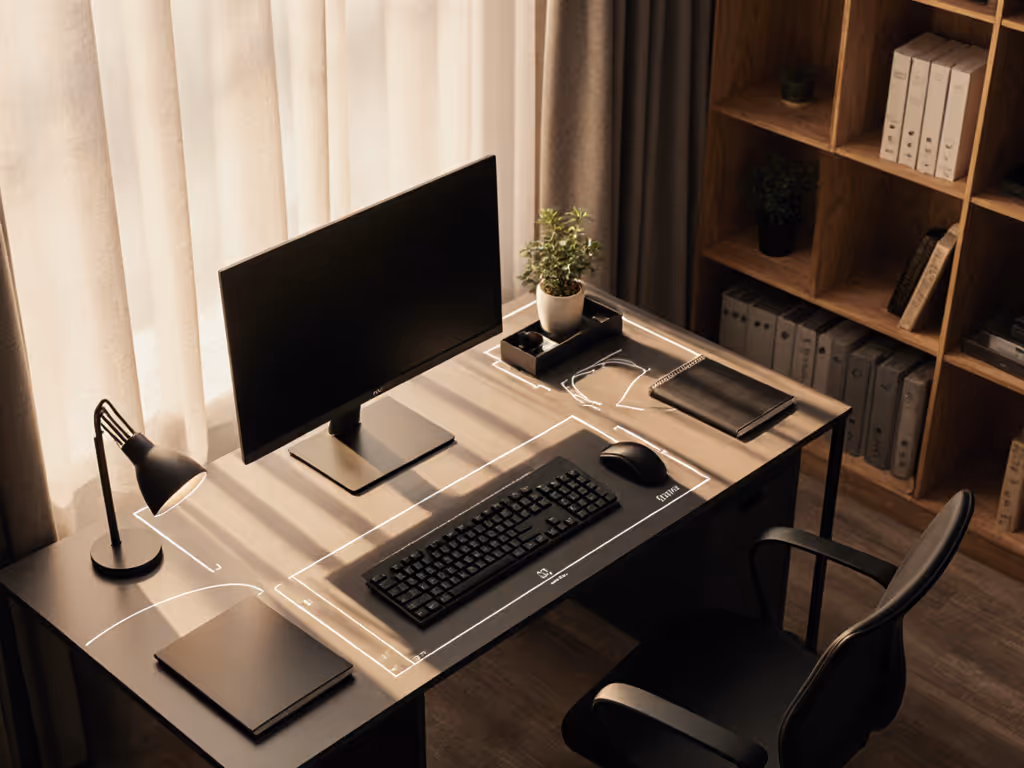
Comfort emerges when clearances match your natural reach arcs.
When you eliminate geometric surprise, your brain has more bandwidth for the work itself.
The Reach Arc: Your Body's Blueprint for the Desk
Every body has a natural reach arc, the zone where your arms move most efficiently without tension or compensation. For seated work, this spans roughly 16 inches from your centerline on either side. Items within this arc (phone, notepad, water bottle) don't trigger reaching or leaning; your proprioceptive system knows exactly where they are.
Beyond 16 inches, your shoulders begin a silent negotiation: lean forward, shrug upward, or extend your arm. Each option creates strain. Over a 40-hour week, these micro-postures compound into neck tension, shoulder tightness, and the creeping sense that your workspace is working against you.
Mapping your reach arc is the first step toward neurological workspace adaptation. Here's how:
- Sit in your chair with feet flat and shoulders relaxed. Elbows stay close to your ribs, bent at roughly 90 degrees.
- Extend both arms forward naturally. Your hands should align with your keyboard home row (the H and J keys for touch typers). This is your centerline.
- Mark or visualize the zone 16 inches on either side. Everything you use hourly (mouse, secondary keyboard, phone) belongs here.
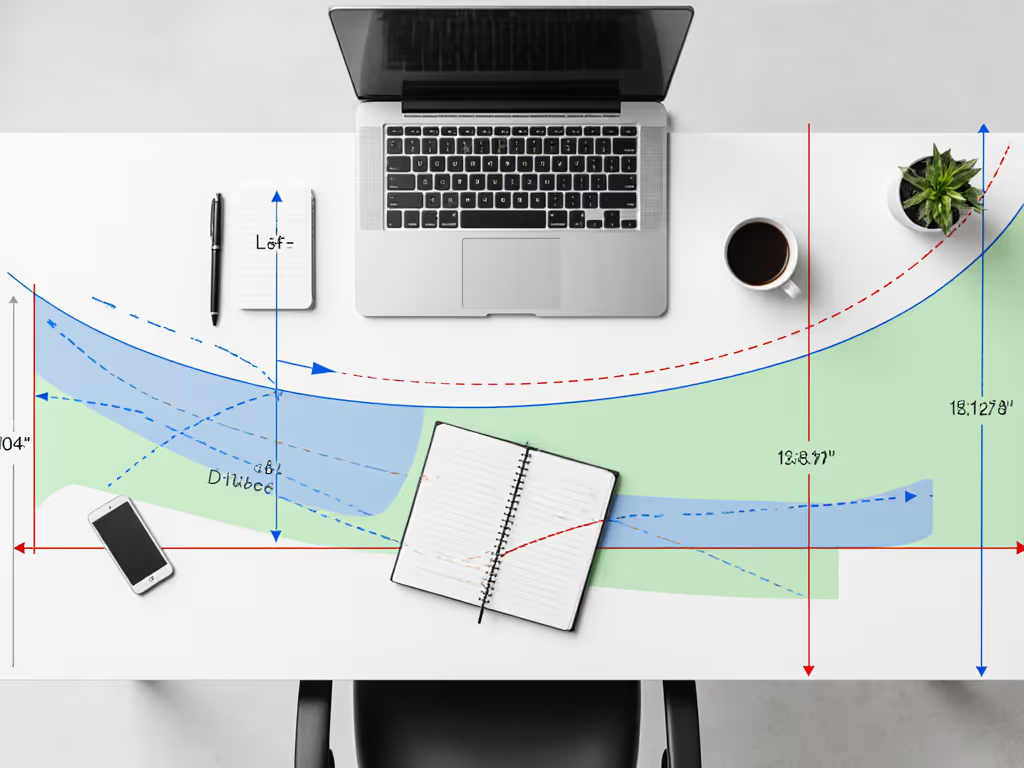
- Audit your current desk. If your monitor is 26 inches away but your mouse lives at 20 inches, your arm angles shift constantly. Your proprioceptive system notices; your conscious mind doesn't, yet your shoulders register it as effort.
Once you know your reach arc, every placement decision becomes a yes/no question: Does this belong in my arc? Suddenly, expensive keyboard trays become unnecessary if your desk height is correct. Oversized monitor arms feel bulky if your viewing distance is already optimal.
Clearance Checklists: The Hidden Geometry That Breaks Setup
Under-desk space is real estate most people treat as storage. In reality, it's your proprioceptive anchor, the zone your knees, feet, and legs navigate dozens of times per day. When that zone is cluttered, your body adapts with twisted postures, crossed legs, or tucked feet.
Your body is the brief. Start there.
Minimum clearance zones to verify:
- Width beneath desk: At least 24 inches. This allows your knees and hips to stay centered, not forced to one side.
- Depth (front to back): At least 12 inches from the desk edge to any obstruction (cable trays, power strips, boxes).
- Seat depth from knee to lumbar: The front edge of your seat should sit 2-4 inches behind your knees when your back touches the lumbar support. This prevents thigh pressure while keeping your spine aligned.
- Vertical leg room when seated: If your knees brush a drawer or shelf, your legs have nowhere to shift. Over 8 hours, this creates lower back strain from static hip flexion.
Before you buy a single accessory, photograph under your desk and measure these zones. Write them down. If a keyboard tray, monitor arm, or cable organizer invades these clearances, it doesn't fit your workspace (no matter how popular it is). To route wires without sacrificing legroom, compare cable management systems tested for installation ease and clearance impact.
The Four-Point Adjustment Protocol
Ergonomic setup feels overwhelming because people optimize in isolation. Adjust the monitor, then the chair, then the keyboard, and suddenly nothing aligns. Instead, use a body-first sequence. Your body is the reference frame; everything else follows.
1. Chair Height and Depth (Your Foundation)
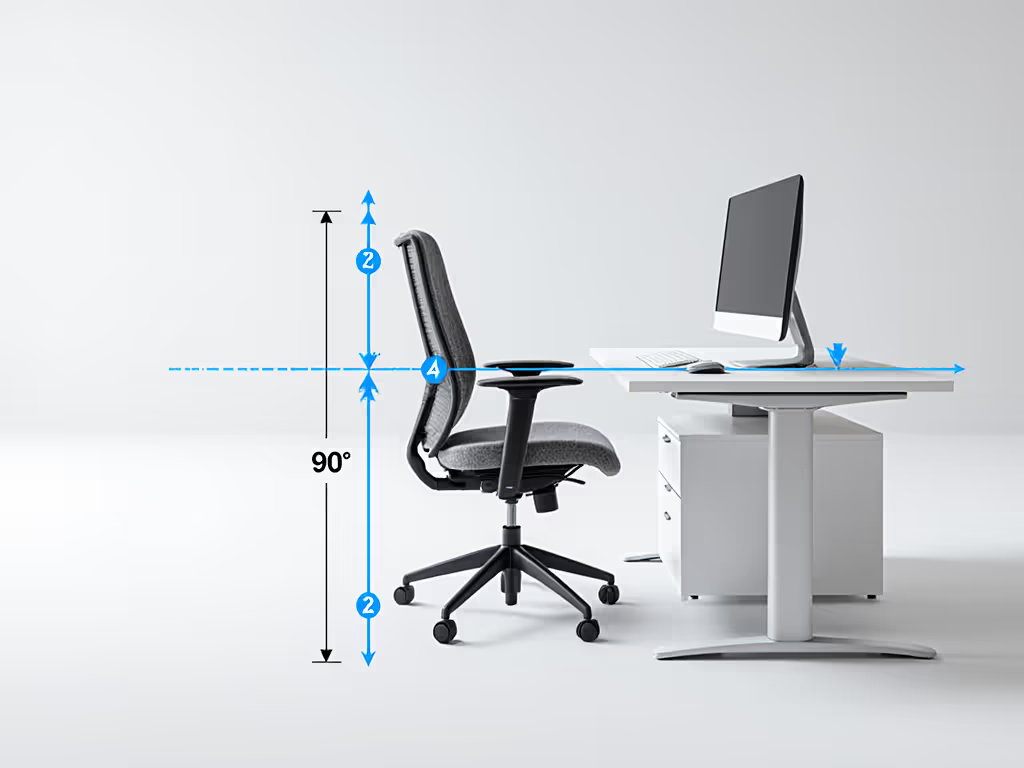
Your feet should rest flat on the floor (or a footrest), with knees bent at approximately 90 degrees and thighs parallel to the ground. Too high, and blood flow to your feet cuts off; too low, and your hips flex past 90 degrees, straining your lower back.
Seat depth is equally critical: sit with your back against the lumbar support, and the front edge of the seat should be 2-4 inches behind your knees. For most adults, this means a 15-17 inch seat depth.
Action: Adjust height first. Use a measuring tape from floor to the underside of your thigh. Document this number. It's your anchor.
2. Monitor Distance and Height (Your Eye Line)
Position your monitor at arm's length, roughly 20-26 inches away, with the top of the screen at or slightly below eye level. If you need extra height or under-screen storage, see our monitor stand vs shelf riser comparison. This maintains a neutral neck position without forward head posture (a major focus-killer and proprioceptive disruptor).
Why distance matters: too close, and your eyes strain; too far, and you unconsciously lean forward or shrug to see. Both are proprioceptive compromises.
Action: Sit upright in your adjusted chair. Hold one arm straight out, fingers extended. Your fingertips should reach the monitor center. If not, adjust the monitor arm or desk depth.
3. Keyboard Position and Tilt (Your Wrist Alignment)
Your keyboard should sit so the "H" key aligns with your body's centerline. Your elbows should hover slightly above keyboard height, allowing your forearms to slope gently downward. This keeps wrists straight and neutral, the foundation for haptic feedback desk tools to work effectively, and for your proprioceptive system to trust hand positioning.
Ignore the pop-out feet on mechanical keyboards; those actually increase wrist extension and strain. For neutral wrist positioning fundamentals, read our ergonomic wrist support science. Keyboard tilt should be flat or slightly negative (front edge higher than back), never positive.
Action: Place your keyboard, then rest your hands on it with elbows relaxed. Your wrists should feel neutral, not bent up, down, or inward. If they aren't, your keyboard height is wrong.
4. Armrests (Shoulder Relief)
Armrests should match your desk or keyboard height exactly. When adjusted correctly, your shoulders stay relaxed (not shrugged) and your elbows bend at roughly 90 degrees. Too high, and your shoulders creep upward, creating neck and trapezius tension; too low, and you lean to one side or hunch forward.
Action: Adjust armrests so your elbows kiss them with arms at 90 degrees. Your shoulders should feel like they're "hanging" from the armrests, not gripping.
Spatial Memory Enhancement Through Micro-Adjustments
Your proprioceptive system thrives on repetition and consistency. Once you've locked in these four points, your nervous system builds a spatial map of your workspace. Adding variation (standing desk rotations, chair height tweaks, or hot-desking) disrupts that map and increases fatigue.
However, static posture, even perfect static posture, creates strain. Micro-movements (shifting your weight, adjusting your position, fidgeting intentionally) are essential. The goal isn't perfect immobility; it's consistent geometry with intentional variation. If you want subtle movement that preserves your setup geometry, compare under-desk movement tools with noise and space data.
Daily habits:
- Every hour: Stand, stretch, and walk for 2 minutes. This is the single highest-impact habit to reduce repetitive strain; it outperforms any equipment purchase.
- Every morning: Do a 30-second posture check, feet flat, shoulders relaxed, monitor at proper distance. This takes seconds and prevents gradual drift.
- Every week: Check under your desk for clutter creep. Move anything blocking leg space.
Your Proprioceptive Workspace Setup: Next Steps
Start small. This weekend, take these three actions:
-
Measure your current reach arc. Sit at your desk with relaxed posture, extend your arms naturally, and measure the distance to your keyboard home row. Then measure everything else, monitor, mouse, phone, notepad, and note whether each sits inside or outside your arc.
-
Audit your under-desk clearances. Photograph the zone beneath your desk. Measure width (side to side), depth (front to back), and vertical leg room when seated. Write these down in your phone.
-
Perform the four-point adjustment. Using a measuring tape, verify chair height, monitor distance, keyboard position, and armrest height. Adjust one element at a time, then sit for 5 minutes and notice how your shoulders, neck, and wrists feel. Document the settings. This is your baseline.
Don't buy anything yet. Most ergonomic discomfort traces to geometry, not equipment. Comfort emerges when clearances match your natural reach arcs, and you've just measured yours. The next adjustment (whether that's a monitor arm, keyboard tray, or desk) will land with precision because your body has provided the brief.
In a week, sit again and notice: does your focus feel sharper? Are you reaching for the same positions automatically, without conscious correction? That's your proprioceptive system relaxing. That's when you'll know which accessories actually serve your workspace, and which were just noise.
Related Articles