Ergonomic Wrist Support: Hand Positioning Science Explained
By Priya Menon • 7th Feb
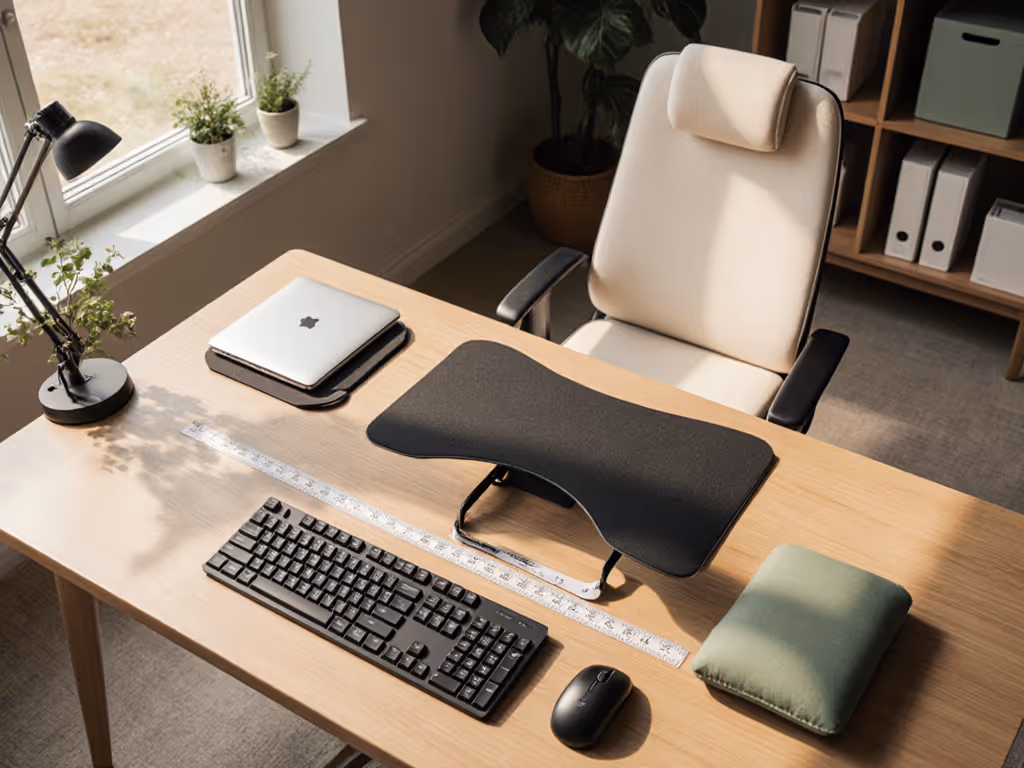
If you've ever experienced wrist fatigue after a long work session, understanding ergonomic wrist support and hand positioning science could transform your daily comfort. As someone who turns complex measurements into simple starter maps, I've learned that proper wrist alignment isn't about expensive gadgets, it's about mapping your space first and fitting your setup to your body. When I moved into my first rental, I learned this the hard way: my dream microphone arm needed a 2-inch overhang my desk didn't have. Instead of returning it, I created a simple 'fit map' with safe zones for all my accessories. Start with a fit map; buying gets calmer and cleaner. If you want a step-by-step mapping workflow, see our fit-first customization guide.
Frequently Asked Questions About Wrist Ergonomics
What exactly is 'ergonomic wrist support' and why should I care?
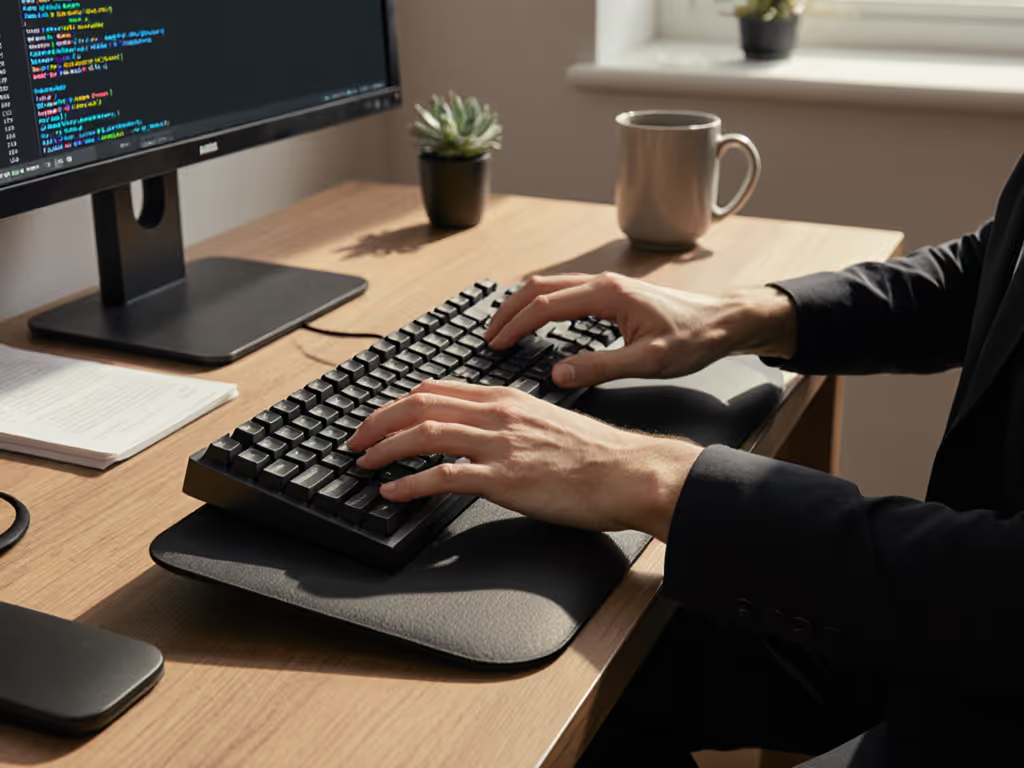
Ergonomic wrist support refers to maintaining your hands, wrists, and forearms in a neutral position that minimizes strain during computer work. It's not about wrist rests or special pads, it's about the entire relationship between your body, desk height, keyboard placement, and movement patterns. When your wrists deviate from neutral position (bent up, down, or sideways), research shows carpal tunnel pressure increases significantly. This isn't just theoretical; it's measurable biomechanics confirmed by multiple studies. Proper ergonomic hand positioning means your forearm, wrist, and hand form a straight line (like an unbroken pencil), regardless of whether you're typing, mousing, or pausing between tasks. For accessory changes that reduce wrist load, see our ergonomic desk accessories guide.
How do I find my truly neutral wrist position?
Many people think they know their neutral position, but truly identifying it requires plain-language measurements and a simple test:
- Sit at your workstation with your arms relaxed at your sides
- Gently lift your elbows to 90 degrees while keeping shoulders relaxed
- Your forearms should be parallel to the floor, this is your baseline
- Now extend your hands forward as if about to type
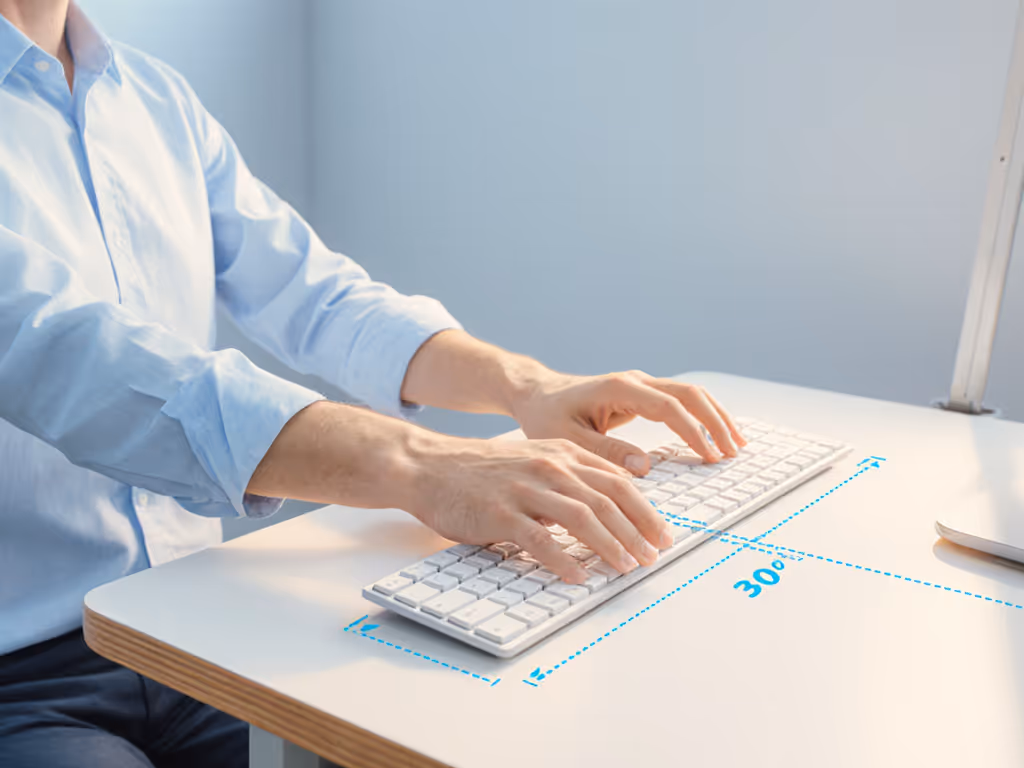
Your neutral wrist position exists when:
- Your knuckles are at the same height as your forearms
- Your fingers point straight ahead (not angled up or down)
- There's no side-to-side bending toward your pinky or thumb
This precise alignment minimizes pressure on your median nerve and tendons. Surprisingly, most people discover their keyboard is either too high or too low once they measure properly. Document your measurements in a starter map (your elbow height, desk height, and keyboard height) so you understand your specific constraints before making any purchases.
How does my desk height affect keyboard wrist alignment?
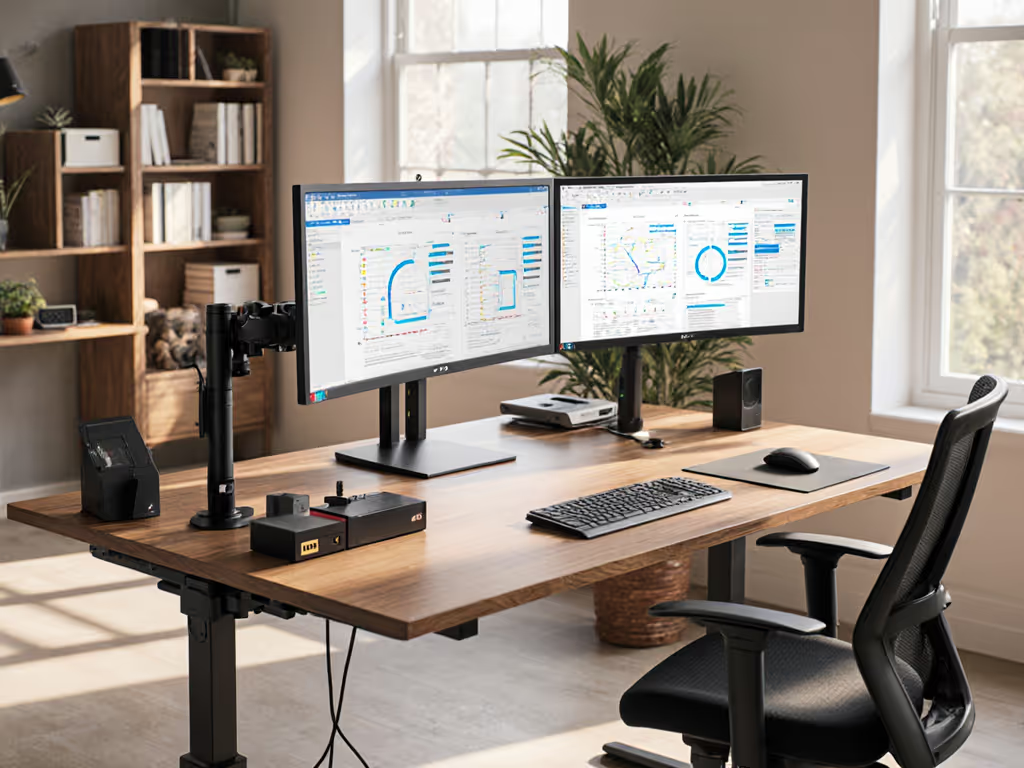
Your desk height is the foundation for everything else, it determines whether you can achieve proper keyboard wrist alignment. Here's the critical relationship:
- If your desk is too high: You'll need to raise your shoulders and bend wrists downward (flexion) to reach the keyboard
- If your desk is too low: You'll slump forward and bend wrists upward (extension) to type comfortably
Measure your elbow height while seated comfortably, this should equal your ideal desk height. If you're evaluating adjustable desks, our premium vs budget standing desk comparison highlights height ranges and stability that affect wrist alignment. For most people, this falls between 24 to 28 inches. If your rental desk doesn't match (and many standard desks are 30 inches), consider these no-drill options:
- Keyboard tray that mounts under your desk
- Adjustable chair with adequate range
- Footrest to elevate your body if your chair can't lower enough
What are the most common mistakes with wrist rests?
Wrist rests are one of the most misunderstood ergonomic tools. The research is clear: using them incorrectly creates more problems than they solve. Common mistakes include:
- Resting wrists on the pad while typing (should only be for brief pauses)
- Choosing a rest that's too high, forcing wrist extension
- Positioning keyboard too low to "need" the wrist rest
- Using a rest that creates pressure on the carpal tunnel area
When resting between typing bursts, the pad should contact only the heel of your hand, not your wrist. During actual typing, your hands should float freely above the rest. If you're using a wrist rest because your keyboard sits too low, that's a symptom of a larger alignment issue (fix your desk height first).
How does proper typing posture science prevent carpal tunnel?
Typing posture science reveals that carpal tunnel syndrome isn't caused by typing itself, it's caused by maintaining non-neutral positions for extended periods. The key insights:
- Wrist extension (bending upward) increases carpal tunnel pressure by 6 to 8x compared to neutral position
- Ulnar deviation (bending toward pinky) creates disproportionate stress on certain tendons
- Static loading (holding one position too long) reduces blood flow to critical tissues
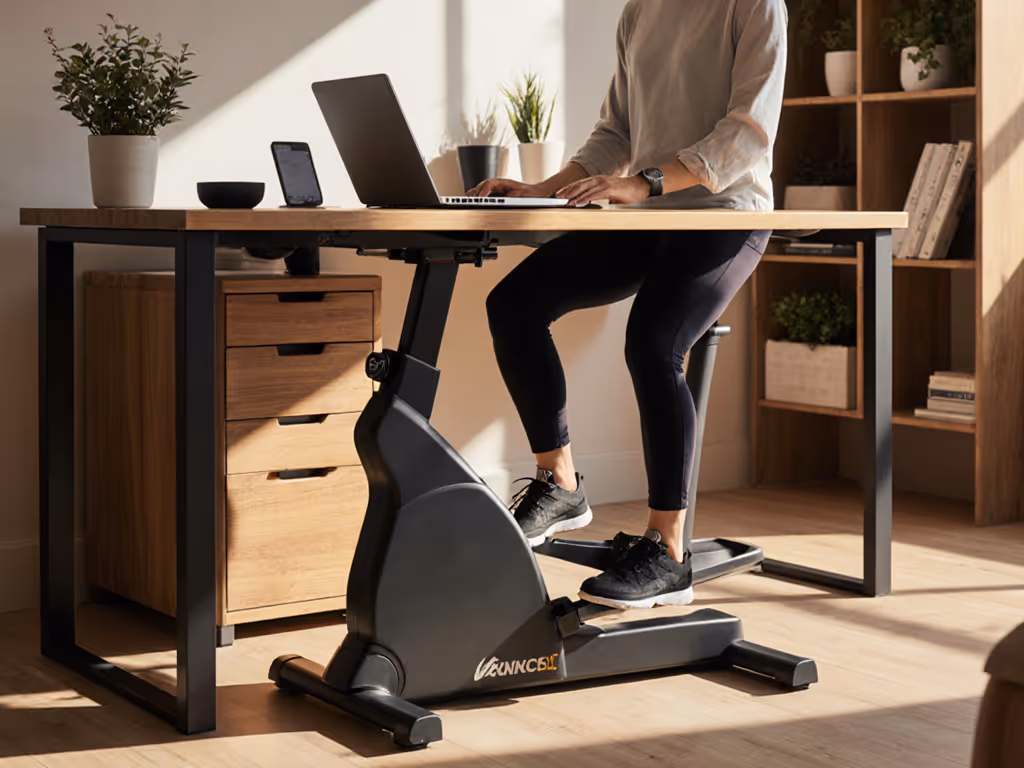
True carpal tunnel prevention comes from dynamic movement within safe zones, not just static alignment. Set reminders to change positions every 20 to 30 minutes, even slight variations reduce cumulative stress. Position your mouse close to your keyboard to minimize reaching, and practice moving your entire arm rather than just your wrist. For condition-specific picks that ease carpal tunnel symptoms, see our pain relief desk accessories.
What are 'safe zones' for my wrists and why do they matter for renters?
Safe zones are the specific ranges of motion and positioning where your wrists experience minimal strain. For most people, these zones include:
- Wrist extension/flexion: within 15 degrees of neutral
- Ulnar/radial deviation: within 10 degrees of neutral
- Elbow angle: 90-110 degrees
Mapping these zones for your specific body prevents the return fatigue that plagues so many remote workers. When you understand your personal constraints, you can identify no-drill options that work within your space limitations. Safe zones save returns, every time you measure first, you avoid buying accessories that force your body into unhealthy positions.
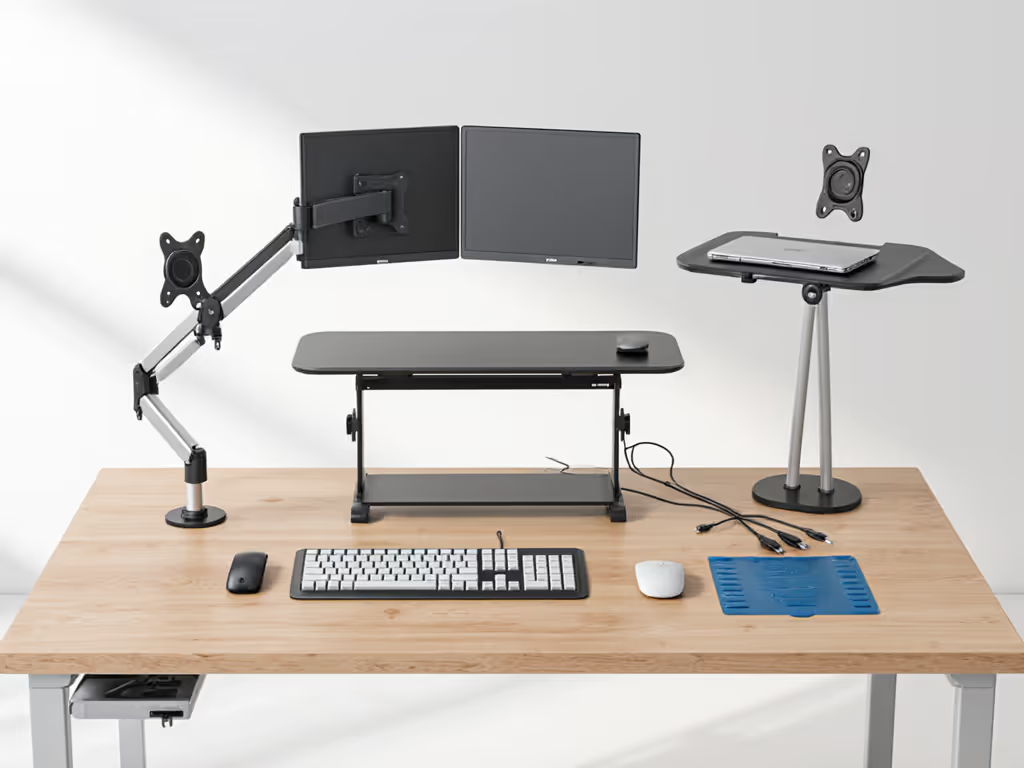
How can I create an ergonomic setup without damaging my rental space?
Renter-friendly ergonomic setups require strategic planning with your specific constraints:
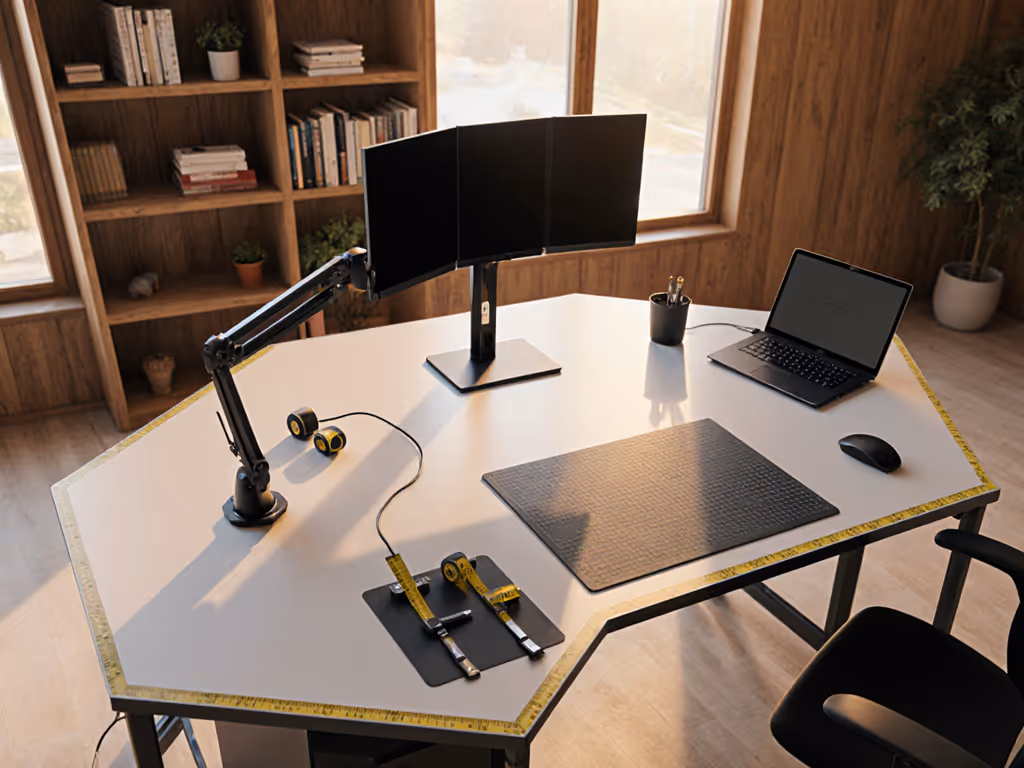
- Measure everything first: Document your desk thickness, depth, and any crossbars that might interfere with clamps
- Prioritize adjustable components: Look for products with generous adjustment ranges to bridge measurement unknowns
- Create upgrade notes: Note where you might need to upgrade when you leave this rental
- Focus on temporary solutions: Keyboard trays that clamp (not screw), monitor arms with grommet mounts
What's the most important upgrade note I should make for future setups?
Your most valuable upgrade note addresses your long-term ergonomic needs while honoring your current constraints. Document:
- Your exact elbow height at seated working position
- The precise distance from your eyes to your screen
- Your ideal keyboard height relative to desk surface
- Any persistent pain points despite your current setup
This data creates your personal ergonomic blueprint (far more valuable than any generic recommendation). To dial in screen height and storage without wrist compromises, compare monitor stands vs shelf risers. When you eventually upgrade to a dedicated workspace, you'll know exactly what measurements matter for ergonomic wrist support that works for your body.
Final Thought: Measure Before You Move
True ergonomic comfort comes from understanding your body's relationship to your workspace, not from buying the latest gadget. Create your starter map with plain-language measurements of your desk, chair, and natural posture. Define your safe zones based on neutral positioning, not marketing claims. When you map your space first, you transform ergonomic anxiety into actionable clarity. Safe zones save returns, every time you measure before you buy, you invest in comfort that lasts. For further exploration, try documenting your own neutral wrist angles with a simple phone camera and measuring app to see how your current setup compares to ergonomic science.
Related Articles