Ergonomic Desk Setup for Your Work Personality
By Aisha Karim • 18th Jan
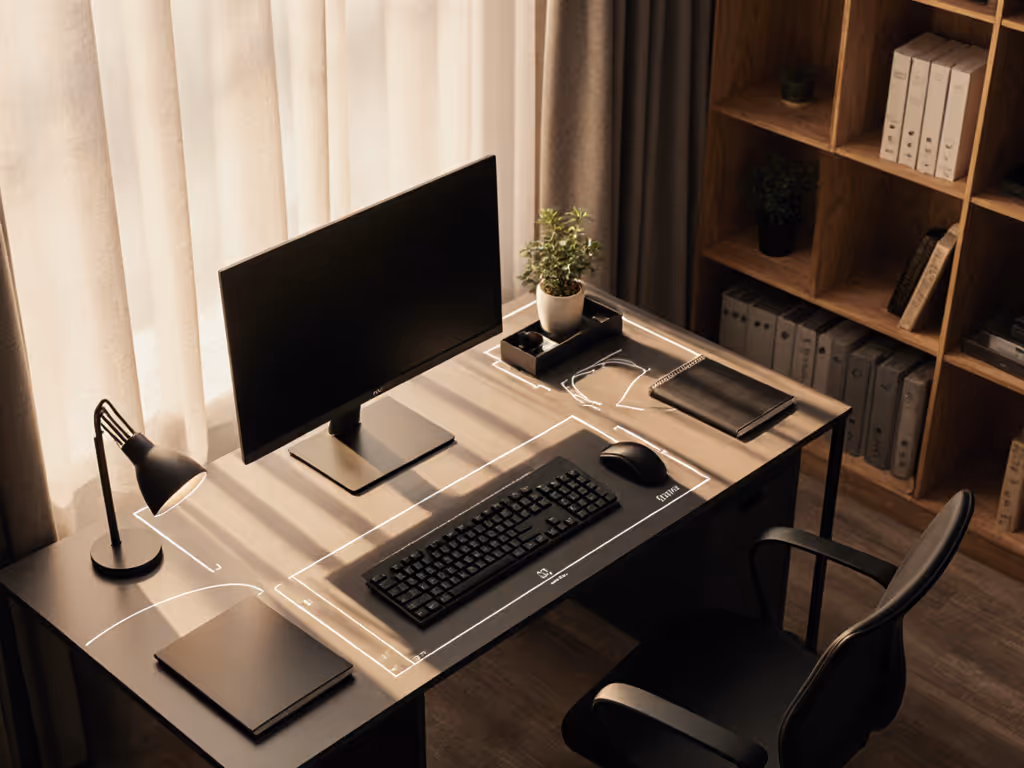
Your work personality desk setup isn't just about aesthetics; it's a critical component of your productivity system. Understanding the psychology-based workspace you naturally gravitate toward reveals where your body wants to move, not just what your eyes want to see. As a non-clinical ergonomics facilitator, I've seen how mismatched personality and workspace create fatigue that no expensive chair can fix. Comfort emerges when clearances match your natural reach arcs.
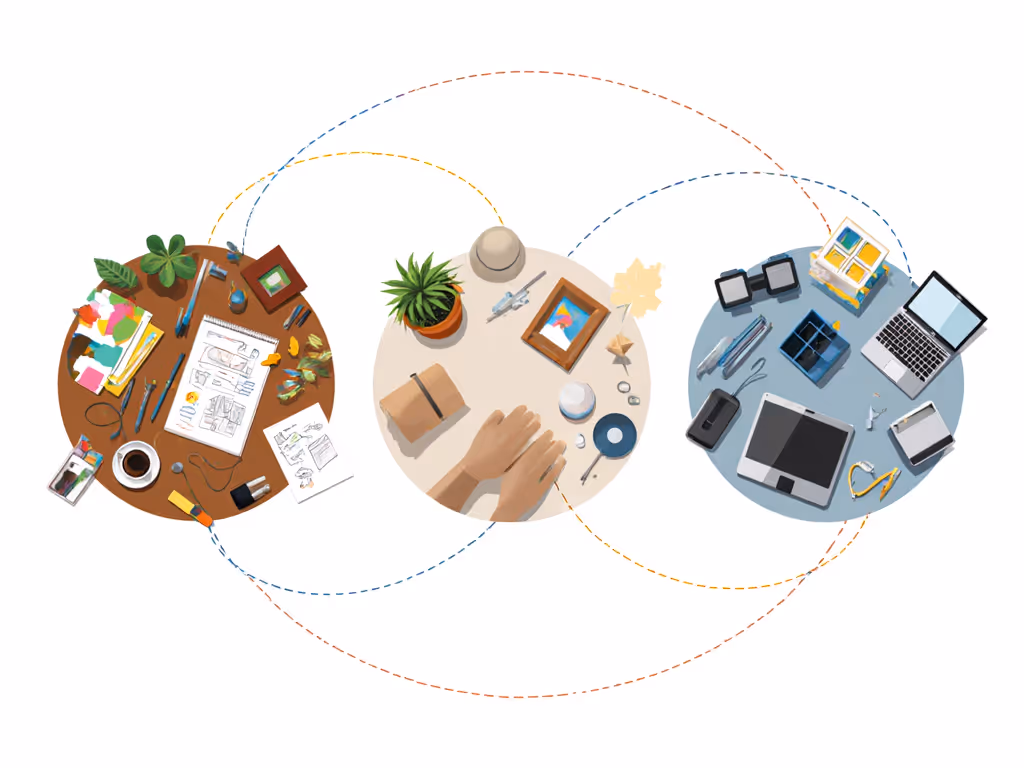
Step 1: Identify Your Workspace Personality Type
Before adjusting a single knob or screw, determine your primary work personality. Your setup style reveals unconscious patterns that dictate how your body interacts with your desk. Skip this step, and you'll waste time on adjustments that fight your natural tendencies.
Use this quick self-assessment based on established personality frameworks:
-
The Minimalist (Analytical/INTJ/ISTJ): Desk appears almost empty except for essentials. Papers stay digitized. Values precision and hates visual noise. Physical tell: Keyboard sits precisely centered, monitor viewing distance consistently measured.
-
The Creative (Expressive/ENFP/INFP): Layered textures, mood boards, and tools visible within arm's reach. May appear "chaotic" but follows private logic. Physical tell: Frequent posture shifts, multiple work zones on one desk surface.
-
The Home Comfort (Amiable/ISFJ/ESFJ): Personal items within touching distance: photos, plants, soft lighting. Prioritizes emotional safety over rigid efficiency. Physical tell: Frequent leaning toward personal items, shoulder tension when those items are removed.
-
The Tech Tinkerer (Driver/INTP/ISTP): Multi-monitor setup with measurable zones. Cable management is a project itself. If that's you, our cable management systems guide compares options by installation ease, adaptability, and aesthetics. Physical tell: Precise adjustments to heights and angles, frustration with "rough" positioning.
Your arm doesn't know Myers-Briggs codes; it knows where it reaches without strain. Personality types simply help us predict your natural reach arcs.
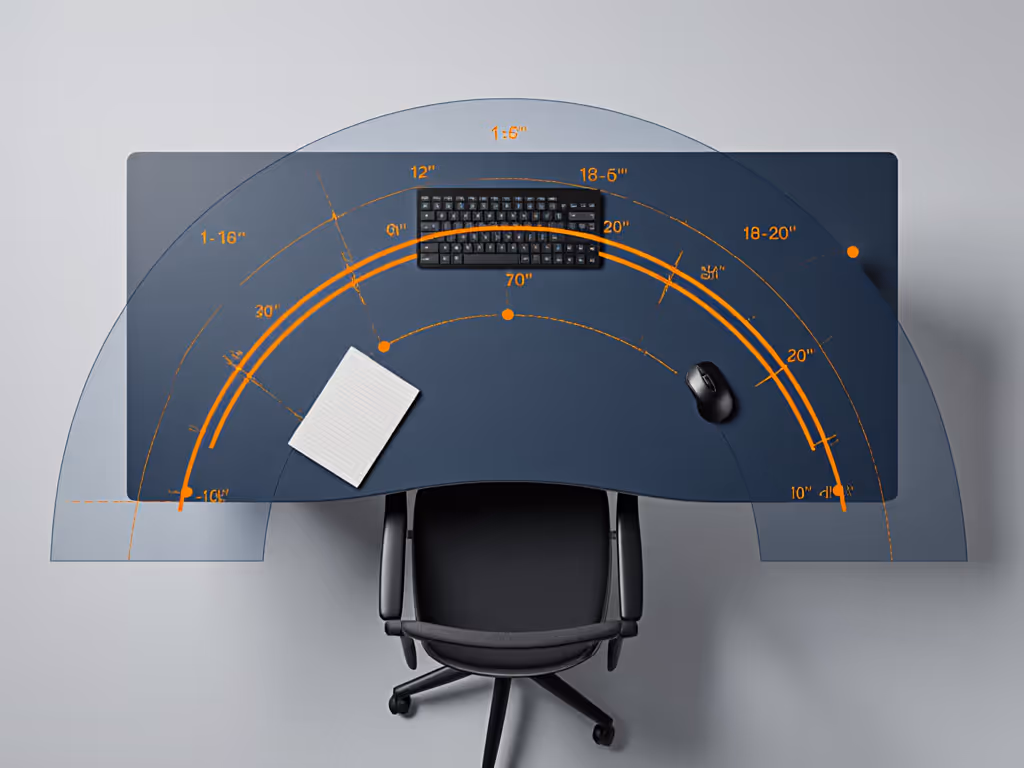
Step 2: Map Your Reach Arcs to Your Workspace
Forget cookie-cutter "elbows at 90°" advice. Your body navigates your desk through three critical reach zones:
-
Core Zone (0-15 inches from torso): Where your hands rest when typing/mousing. Minimalists keep only essentials here. Creatives often overload this zone with tools, forcing shoulder hunching.
-
Task Zone (15-24 inches): Where you reach for references, notes, or tools. Home Comfort users store personal items here, creating "lean points" that disrupt posture.
-
Storage Zone (24+ inches): Material storage or secondary monitors. Tech Tinkerers often place critical controls here, requiring constant leaning.
Clearance Check: Sit at your desk as if working. Mark where your elbows fall when resting normally. Now mark where you reach for your mouse, notebook, and favorite mug. Measure the distances between these points. Your natural reach arcs will explain why certain setups fail you, like when I chased wrist pain with different keyboards for months, only to discover my keyboard tray collided with a center drawer. The problem wasn't my typing technique; it was physics clashing with my personality.
For Minimalists: Tighten your zones. Use a low-profile keyboard tray (under 1.5" height) to maintain clearance without visual clutter. Measure your thigh-to-desk gap: anything less than 3" creates subconscious tension.
For Creatives: Designate "lean anchors": fixed points where you can rest an elbow without straining when reaching for sketchpads or notebooks. Your dual-monitor setup should have a central pivot point matching your dominant eye position.
For Home Comfort users: Place emotional safety items within your natural reach arc, not outside it. That family photo shouldn't require shoulder rotation. Measure your relaxed shoulder height: items beyond this force micro-tensions that accumulate.
For Tech Tinkerers: Document your exact reach parameters. "Monitor arm fully extended" is useless data. Note the precise distance where your eyes naturally focus on secondary screens. Your ultrawide monitor likely needs 4-6" less depth than standard recommendations to avoid neck rotation.
Step 3: Optimize Your Workspace Geometry
Now refine your setup using dimension-backed adjustments that honor both your personality and physiology:
For Minimalists and Analytical Types
- Set desk depth to match your reach arc's outer limit (typically 22-24")
- Use monitor arms with 1/8" precision adjustments; "close enough" creates subconscious resistance
- Install a keyboard tray with documented height clearance (many "low-profile" trays still require 3"+ depth, colliding with crossbars)
- Risk note: Over-minimalism leads to "desk hunching": reaching forward because nothing sits at your natural arc's edge
For Creative and Expressive Types
- Divide your surface into activity sectors with 2-3" buffer zones between them
- Choose monitor mounts with 15°+ rotation to maintain neutral neck position when pivoting between tasks
- Position frequently shifted items (sketchpads, notebooks) at your elbow's natural drop point (usually 1-2" below keyboard height)
- Risk note: "Organized chaos" often masks reach arc collisions: your tablet leaning against the monitor may force 5° constant neck tilt
For Home Comfort and Amiable Types
- Place personal items at shoulder-width apart (not centered) to avoid repetitive left/right turning
- Use under-desk lighting positioned to cast zero glare on emotional comfort objects For a deeper dive into ambient options that reduce eye strain and support focus, see our workspace mood lighting guide.
- Select chair arms that clear your "reach to comfort" zone (typically 18-20" wide at elbow height)
- Risk note: Emotional safety items placed outside your natural reach arc create chronic micro-tensions
For Tech Tinkerers and Drivers
- Measure your "precision zone"; the exact distance where fine motor control peaks (usually 12-16")
- Document crossbar thickness and clamp requirements before buying mounts
- Use VESA adapters with millimeter-specific offset data to prevent monitor "float"
- Risk note: Seeking perfect adjustability often ignores knee clearance: your multi-monitor rig might force chair adjustments that break neutral posture
Your Actionable Next Step
Today, measure just one critical clearance: knee-to-desk front edge at your normal sitting height. Write it down. Now compare to your personality type's typical reach arc:
- Minimalists: Should have 1-2" clearance
- Creatives: Need 2-3" for posture shifts
- Home Comfort: Require 3-4" for leaning toward personal items
- Tech Tinkerers: Demand 1.5-2.5" for mounting hardware
If your measurement falls outside this range, that's where your next ergonomic upgrade should focus, not in chasing the latest accessory. For a health-first checklist of strain-reducing gear, start with our ergonomic desk accessories guide. Posture follows dimensions. When you align your workspace geometry with your natural movement patterns, productivity becomes effortless. Your body isn't fighting the environment, and your personality gets the space it needs to thrive. That's when your work personality desk setup stops being a compromise and becomes a true extension of how you work best.
Related Articles