Introduction
A sustainable desk ecosystem isn't about guilt-driven swaps or trendy "eco-friendly" labels. It's about clarity: knowing which pieces last, which can be fixed when they break, and which scale with you as your work evolves. Most people buy desk gear reactively (a monitor arm one month, a cable tray the next) and end up with a drawer full of orphaned adapters and incompatible mounts. Then, when something fails, they assume it's landfill time. That assumption costs money, space, and peace of mind.
The real sustainable choice? Build with repairable desk accessories and modular workspace components from the start. This isn't minimalism or asceticism. It's strategic. When you design for longevity and fixability, you stop treating your workspace as disposable, and that mindset shifts everything: what you buy, how you arrange it, and what you keep.
Start with a fit map; buying gets calmer and cleaner.
FAQ: Building Your Sustainable Desk Ecosystem
What makes a desk accessory actually repairable?
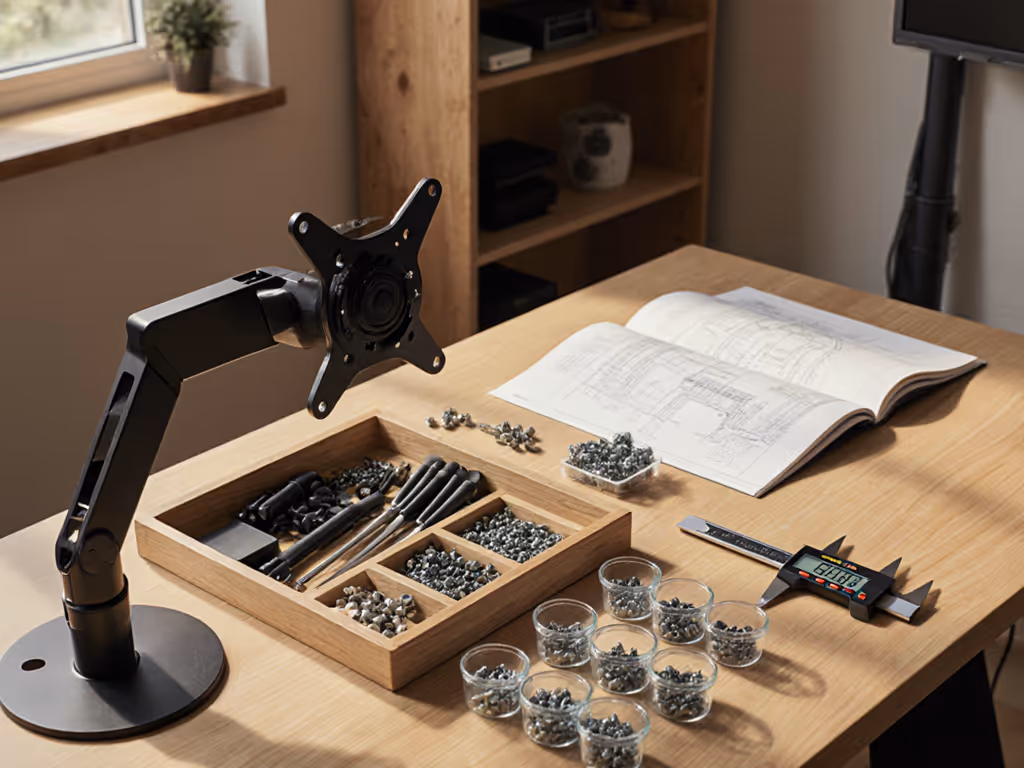
Repairable accessories share a few defining traits. First, modularity: parts screw or clip together, not glued. Look for monitor arms with separate base plates and monitor-bracket assemblies. If a gas spring fails (common after 5-8 years), you should be able to order just that part, not replace the whole arm. Same logic applies to desk clamps, cable organizers, and keyboard trays.
Second, spare-parts availability. Brands that publish parts diagrams and sell replacements tend to stay in business longer and signal they intend durability. Check if the maker lists screws, springs, hinges, or rubber feet as purchasable items. If they don't mention them, they may not exist.
Third, standardized fasteners. Avoid proprietary screws or mounting plates. Standard VESA 75×75 and 100×100 monitor patterns, M6 or M8 bolts, and common threading mean you can adapt, repair, or upgrade without calling support. This is especially critical for renters and multi-desk scenarios, if you need to move, standardized parts move with you.
How do I plan a modular workspace that scales?
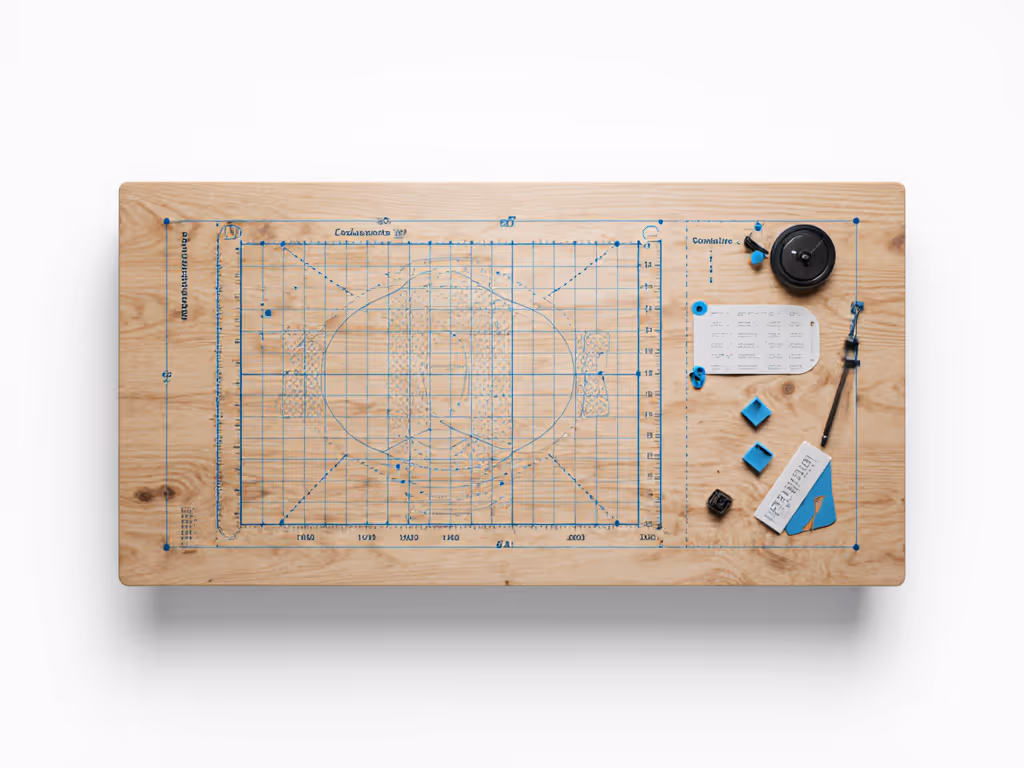
Start with a fit map. For a step-by-step approach to fit mapping and personalized accessory choices, see our fit-first customization guide. Measure your desk depth, width, and height in plain numbers: 48" wide, 30" deep, 1.5" thick. Note where crossbars live (many clamp-on desks have a center brace at 18-24 inches below the surface, and this blocks arm movement). Mark wall clearance behind and to the side in inches. Check if you can drill or if you're limited to no-drill, clamp-based mounts. A single page with these numbers becomes your compatibility filter.
Next, document your known near-term changes. Plan to add a second monitor in six months? A standing desk in a year? A mic boom or shelf? Write these down. Now, pick core components that won't need replacement:
- A monitor arm or dual-monitor pole that supports your target weight and has extra VESA slots for future monitors.
- A desk clamp or grommet with generous overhang (at least 3-4 inches) so smaller accessories can hang without collision.
- A modular under-desk cable tray system, not a fixed tray. Trays that clip to rails let you move sections as your layout evolves.
Safe zones save returns. By mapping constraints upfront, you avoid the common pitfall: buying a slim laptop stand only to discover it blocks your document holder, or a monitor arm that hits your wall when you add a second screen. I learned this the hard way in a rental apartment when a clamp mic arm needed a 2-inch overhang my desk didn't have, so instead of returning it, I drafted a simple fit map with safe zones and no-drill options, and that one page turned every accessory choice thereafter into a confident decision.
What's the difference between "eco-friendly" and actually sustainable?
Eco-friendly labels often mean less material or recycled plastic. Sustainable means longer use and fewer replacements. A bamboo desk mat that sheds in two years isn't sustainable, no matter the tree. A steel monitor arm with replaceable springs that lasts fifteen years, is.
A fact confirmed by lifecycle studies: one durable product used for ten years has a lower environmental footprint than five cheaper alternatives over the same span. Energy, water, and manufacturing emissions for the five outweigh the one, even with recycling.
So, when evaluating longevity-focused desk gear, ask:
- Can I replace parts, or is it sealed?
- Is the material rated for office wear (e.g., metal hinges, not plastic rivets)?
- Are spare parts stocked or available for order?
- Does the maker offer a clear repair or swap policy if it fails under normal use?
- What's the warranty, and does it cover wear items like springs or rubber feet?
How do I choose repairable options as a renter?
Renters often feel stuck. You can't drill for permanent mounts, so you assume you're locked into clamp-only or adhesive-based gear. For renter-safe picks with verified sustainability metrics, see our eco-friendly office gear guide. But clamps and no-drill grommet mounts are inherently more repairable and scalable than drilling (a silver lining).
No-drill customizable desk accessories include:
- C-clamps and edge clamps on monitor arms. These tighten around desk edges and can be moved, swapped, or reused on a new desk without damage.
- Grommet mounts (rubber rings that sit in pre-drilled cable-pass-through holes; these are often already there in office-grade desks). You slide cables or small mounts through; no new holes needed.
- Over-the-monitor clips for lights, webcams, or small shelves. These perch on top and rest on the monitor frame (zero permanent hardware).
- Rail or pole systems that rise from the desk surface and clamp at the base. You hang arms, shelves, and trays on T-slots or clip receivers.
When clamps or grommet mounts loosen over time (common after a year of daily use), you typically just tighten a knob or snap in a replacement rubber washer. Renters often find these easier to repair than drilling mistakes, and they're transportable across homes.
What's the upgrade path, and how do I avoid orphaned accessories?
Plan in layers. Layer 1 is your desk and base chair. Layer 2 is core peripherals (monitor, keyboard, mouse, lighting). For glare control, CRI, and color temperature metrics, see our ergonomic desk lighting comparison. Layer 3 is accessory mounting (arms, clamps, trays, cable routing).
When you upgrade from a single to a dual-monitor setup, Layer 1 and 2 stay; you add a second monitor and a compatible arm mount to Layer 3. If your monitor arm uses standard VESA mounting, you don't replace the arm (you add a second VESA bracket or shift to a pole system with extra slots).
The same principle applies to customizable desk accessories. A cable tray system with modular sections lets you add rows as your cable count grows. A desk clamp rated for 30 pounds can shift from holding one arm to holding two smaller ones as your needs change. Many people assume they'll toss these items when they upgrade. Instead, they migrate within your setup or to a friend's desk.
To minimize orphaned gear:
- Avoid proprietary mounts and single-monitor-only arms.
- Choose accessories that adjust or expand, not replace.
- If a clamp only fits a desk 1.25 inches thick and yours is 1.75 inches, it's not a retrofit (it's waste).
- Keep specs for every accessory (VESA pattern, weight limit, clamp range, cable capacity) in a simple spreadsheet or phone photo.
How do I spot greenwashing in desk gear marketing?
Greenwashing is common in office spaces. Watch for:
- Vague material claims: "eco-materials" without naming them. Real claims say "FSC-certified birch plywood" or "recycled aluminum, 70% post-consumer content."
- End-of-life silence: If a brand doesn't mention repair, recycling programs, or take-back, they're not thinking long-term.
- Single-use certifications: A product can be "Carbon Neutral Certified" for shipping but still unrepairable and short-lived.
- Price that seems too low: If a monitor arm costs half as much as competitors and the brand doesn't explain why (e.g., direct-to-consumer, no middleman), it's often cheaper materials or corners cut on durability.
Sustainable brands tend to openly discuss repairability, publish part lists, and stand behind items with multi-year warranties. They often cost more upfront but cost less over time.
How do I organize cables and power sustainably?
Cable clutter isn't just ugly (it creates repair barriers). To choose scalable trays, clips, and under-desk rails, start with our cable management systems guide. When cables are tangled, you can't spot a pinched or damaged cord until it fails. At that point, you either repair it (if you can access it) or replace the whole device.
Use modular workspace components for cable routing:
- Under-desk cable trays with clip-in sections. When your setup changes, you move sections rather than replacing the whole tray.
- Cable sleeves or spirals that bundle cords and allow you to pull or add individual cables. Versus zip-ties (one-use, often cut off) or velcro straps (reusable but hard to adjust).
- Power strips with surge protection and flat plugs. Flat-plug cables take up less space and don't tangle as easily. Surge-protected strips outlast cheaper alternatives by catching electrical faults before they damage your gear.
- Clearly labeled cables and connectors. When you need to swap a monitor or move a device, you'll spend seconds, not ten minutes guessing which cable is which. This reduces rushed moves that damage ports or cause drops.
A small laminated cable map on the underside of your desk (listing each plug, its destination, and its function) takes five minutes to create and saves hours of trial-and-error down the line.
Why Repair-First Thinking Changes Everything
When you prioritize repair and modularity, you're not sacrificing aesthetics or speed. You're front-loading clarity. Before you buy a clamp mic arm, you map your desk, check overhang, verify clearance to walls, and know it won't collide with a monitor upgrade later. Before you pick a cable tray, you count your current cables, plan for 30% growth, and choose a modular rail system instead of a fixed plastic tray.
The workflow is simple: measure, map safe zones, research specs, buy once, upgrade modular parts as needed. It sounds methodical (and it is), but it's also liberating. You stop second-guessing purchases. You stop managing returns. You stop telling yourself "I'll just replace this later."
The same rigor applies to eco-friendly e-waste solutions. You're not chasing certifications or trends. You're building an ecosystem where failures are fixable, upgrades don't mean waste, and your workspace reflects your actual workflow (not Pinterest, not guilt, not hype).
Further Exploration
The journey to a sustainable desk ecosystem doesn't end with purchase. For cleaning routines and material-specific care, see our desk maintenance guide. As your work evolves (more monitors, new tools, a move to a standing desk, or a shift from office to hybrid) revisit your fit map quarterly. Note what's working, what you've outgrown, and what could be swapped for a modular alternative.
Start a simple spreadsheet of your accessories: the VESA pattern your arm supports, the weight it handles, the cable count your tray holds, and the clamp thickness it fits. When you're tempted to buy something new, cross-reference it against this spec sheet first. You'll catch mismatches before they arrive at your door.
Finally, reach out to manufacturers directly if documentation is sparse. Brands that value durability often respond to inquiries about spare parts, repair options, or upgrade compatibility. Their willingness to answer is itself a signal of whether they're building for longevity or churn.
The goal: a workspace you're proud to use and show, built on dimensions and foresight, not guesses and returns.