Desk Accessories for Hybrid Work Parents: Quick-Setup Comparison
By Sora Tanaka • 2nd May
Introduction
Choosing desk accessories for a hybrid work parent workspace is not about finding the prettiest solutions; it is about engineering a setup that does not collide with itself when you add a second monitor, that keeps power cords away from curious hands, and that does not require a full rebuild when your needs change. The gap between a first purchase and a frustrating return often comes down to one thing: nobody blueprints the underside first.
I've watched hybrid workers (parents especially) buy ergonomic organizers that look perfect in photos, only to discover the clamp sits 12 millimeters too close to the leg brace, or the cable channel blocks a drawer. One client came to me after upgrading to a triple-monitor arm, only to find it overlapped her existing under-desk raceway. We replotted everything on a grid: rails, clamps, grommets, leg locations, cable paths. The rebuild worked flawlessly and proved a simple truth: blueprints prevent collisions. This guide walks you through a step-by-step comparison process designed to eliminate guesswork and help you build a quick-setup home office that stays functional as your family and career evolve.
Step 1: Audit Your Physical Constraints
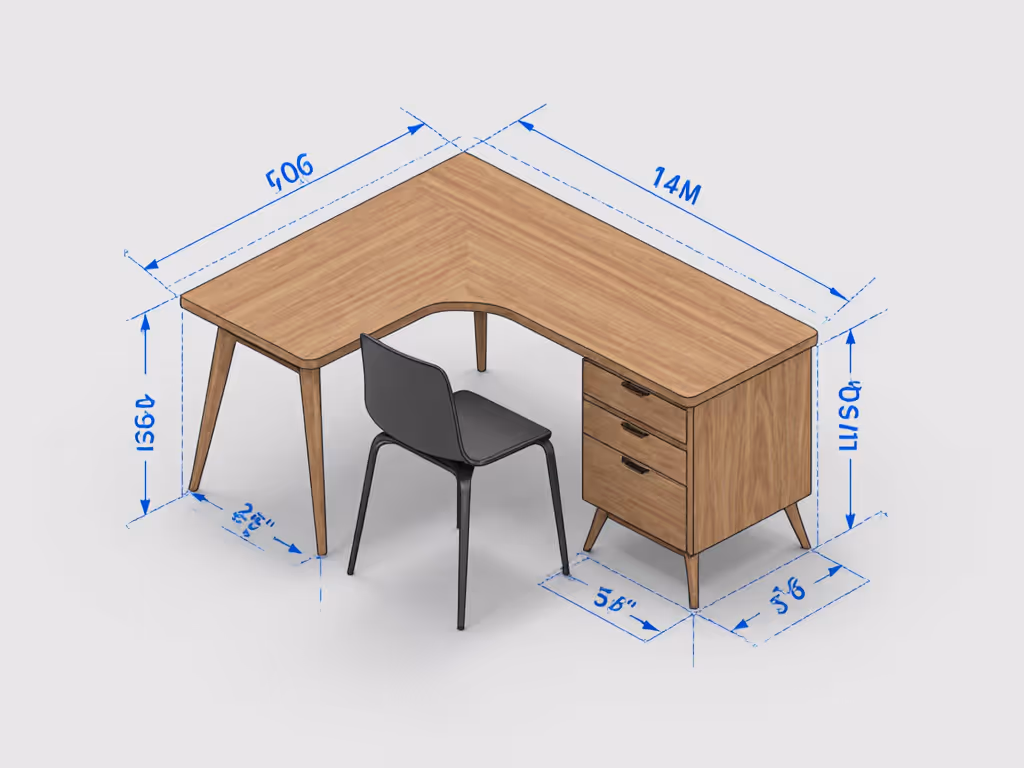
Before comparing a single accessory, you need exact measurements and a collision audit of your desk environment.
Gather these dimensions:
- Desk depth (top surface to wall)
- Desk thickness (for clamp clearance)
- Desk width (usable surface minus walls or shelving)
- Leg spacing (distance between front legs or crossbars)
- Wall-to-desk height (clearance for monitor arms)
- Available under-desk height (from floor to underside of desk)
- Chair armrest height and reach (will accessories collide?)
- Mounting holes or cable pass-throughs already present
Create a simple sketch or use graph paper. Mark each constraint: walls, legs, existing holes, power outlets. This is not about perfection; it is about preventing the overlap that derails setups months later. Use a measuring tape and take photos from multiple angles. Store these measurements in a document or phone notes. This becomes your grid reference for every comparison that follows.
Step 2: Map Your Accessory Layout Before Purchasing
This is where "map first, mount second" becomes non-negotiable.
Define your zones:
- Power zone: Where your power strip or dock will live (typically left or right corner, under-desk)
- Cable zone: Path from power to monitor arm, keyboard dock, or document holder
- Peripheral zone: Space for a mic boom, headphone hook, or secondary storage
- Legroom zone: Chair clearance and nothing protruding into walking or sitting space
Plot accessories on grid coordinates. If your desk is 60 inches wide by 30 inches deep, imagine it as a grid. Mark where a monitor arm clamp will sit, where a cable channel runs, where a desk organizer tray will be positioned. Note the mounting depth of each accessory: how far it protrudes from the desk surface or how deep into the underside it reaches.
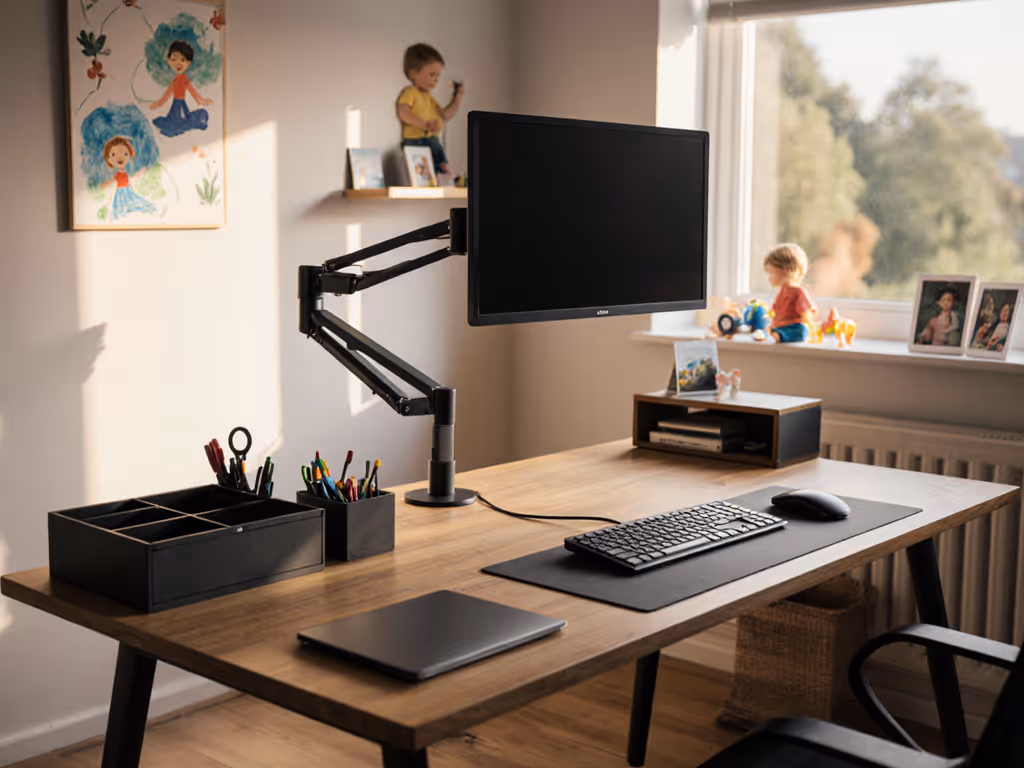
Conduct a collision audit. Does the monitor arm clamp interfere with a file drawer? Does a keyboard tray block a cable channel? Will a child-safe desk organizer hit the desk leg? This exercise catches mismatches before purchases, and it is particularly critical when children share the space.
Step 3: Compare Three Core Mounting Systems
For hybrid work parents, the mounting choice shapes everything. Here is how to evaluate each:
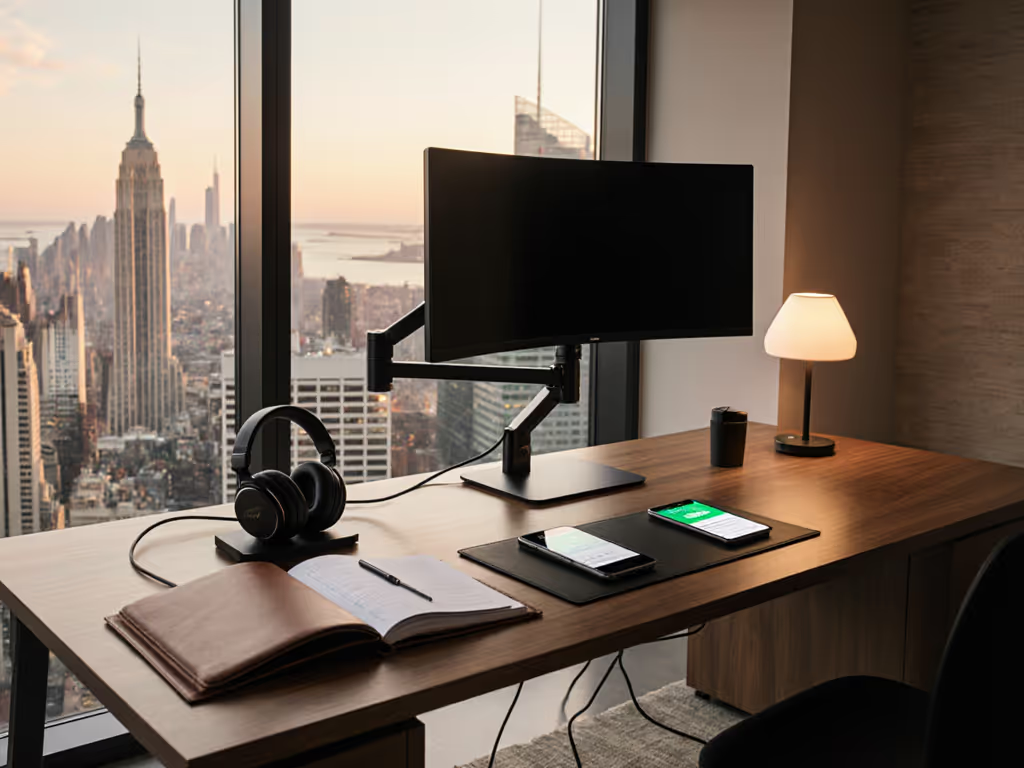
Clamp-Based Mounts
Best for: Non-permanent setups, rented spaces, frequent reconfiguration
- Fit check: Measure desk thickness; most clamps grip 0.6-2.4 inches. Thicker desks or laminated edges may require adapters.
- Collision risk: Clamps protrude downward and outward. Verify they clear chair armrests and desk legs.
- Expansion slots: Can you add a second clamp 12-18 inches away without overlap? Test spacing before purchase.
- Child safety: Clamps are less likely to pivot accidentally but require regular tightening. Periodic checks matter in households with children who might bump equipment.
Rail Systems
Best for: Modular, future-proof setups; multiple accessories in sequence
- Fit check: Rails mount perpendicular to desk edges and run the full depth or width. Verify your underside map has 3-4 inches of unobstructed space.
- Collision risk: Lower than clamps; rails distribute load and move collisions further out.
- Expansion slots: Rails are purpose-built for adding accessories; they scale from one mount to five without core rebuilds. This is critical if you are planning to upgrade from a single to dual or triple-monitor setup.
- Child safety: Accessories lock into place with minimal pivoting; very stable once installed. Superior for homes where children might play near or under the desk.
Grommet & Adhesive Mounts
Best for: Low-profile cable channels, document holders, lightweight organizers
- Fit check: Grommets drill through the desk surface (permanent; renters, avoid). Adhesive mounts stick to undersides and require clean, smooth surfaces.
- Collision risk: Minimal if used for lightweight items (cable ties, clips, small trays). Not suitable for heavy monitor arms.
- Expansion slots: Adhesive mounts are difficult to relocate without damage; plan placement carefully. If you might reconfigure, avoid permanent adhesive solutions.
- Child safety: Adhesive can degrade over time, especially with temperature changes and moisture from spills. Not ideal for high-traffic areas or homes with children.
Step 4: Evaluate Cable Management for Family-Friendly Home Office Setups
Cable chaos is a pain point, and a hazard for households with children. Unsecured cords attract curious hands, create tripping hazards, and make it impossible to locate the right cable when you need to reconfigure.
Compare three strategies:
| Strategy | Setup Time | Child Safety | Scalability | Cost |
|---|---|---|---|---|
| Under-desk cable channels | 20-30 min | Moderate (enclosed, but accessible if unsecured) | High (expandable, room for new cables) | $20-$60 |
| Spiral wraps & adhesive clips | 10-15 min | Low (loose ends; tangles attract fingers) | Low (must unwrap to add cables) | $10-$25 |
| Modular cable trays with lids | 30-45 min | High (cables contained, lids deter access) | High (clips accommodate new cables; sealed design) | $40-$100 |
Verify mounting depth: Does a cable channel or tray protrude enough to hit a chair wheel or a child crawling underneath? Use your grid coordinates to test clearance. Remember that children move unpredictably; overestimate clearance by 2 inches.
Plan cable runs before installation. Trace the path from power source to each device: monitor, keyboard dock, lamp, headphone hub. Ensure no runs cross high-traffic zones or sit exposed where curious hands can tug them. A small bit of planning here pays off later.
Step 5: Select Child-Safe Desk Organizers & Compartments
For hybrid work parents, accessory selection hinges on dual requirements: your workflow efficiency and your family's safety.
Evaluate organizers using these criteria:
- Compartment design: Can small fingers open lidded boxes? Are cable ports sealed or exposed? Opt for organizers with locking clips or magnetic enclosures over open trays.
- Material durability: Plastic organizers are lightweight and affordable but may degrade under heat (near lamps) or if chewed. Wood or metal organizers are sturdier and age better, though heavier to install.
- Mounting stability: Is the organizer clamped, glued, or rail-mounted? Rail mounts offer highest stability; adhesive is riskiest, especially with children bumping into them.
- Cord entry/exit: Some organizers have dedicated cable ports; others require DIY drilling. Sealed ports are safer and look cleaner.
- Accessibility for reconfiguration: Can you move or remove organizers without tools? This matters when adding a second monitor arm or switching from desk to standing setup.
Avoid permanent solutions without a non-destructive alternative. For material trade-offs that affect durability and maintenance, see our wood vs metal vs acrylic organizer comparison. Glued-down cable boxes might look neat, but they are a nightmare when you upgrade or need to relocate. Instead, prioritize work-parent workspace solutions that combine security (your children's safety) with flexibility (your future needs).
Step 6: Plan for Scaling - The Grid Protects Future Upgrades
This is where blueprint discipline saves money and sanity. A setup designed for today's single 27-inch monitor often becomes a bottleneck when you need a second screen six months from now. Worse, poorly planned initial builds create cascading collisions during upgrades.
Ask yourself:
- In 12 months, will I add a second or third monitor?
- Will I switch to a standing desk?
- Do I need a second keyboard/mouse combo for a co-working space or for a partner working from home?
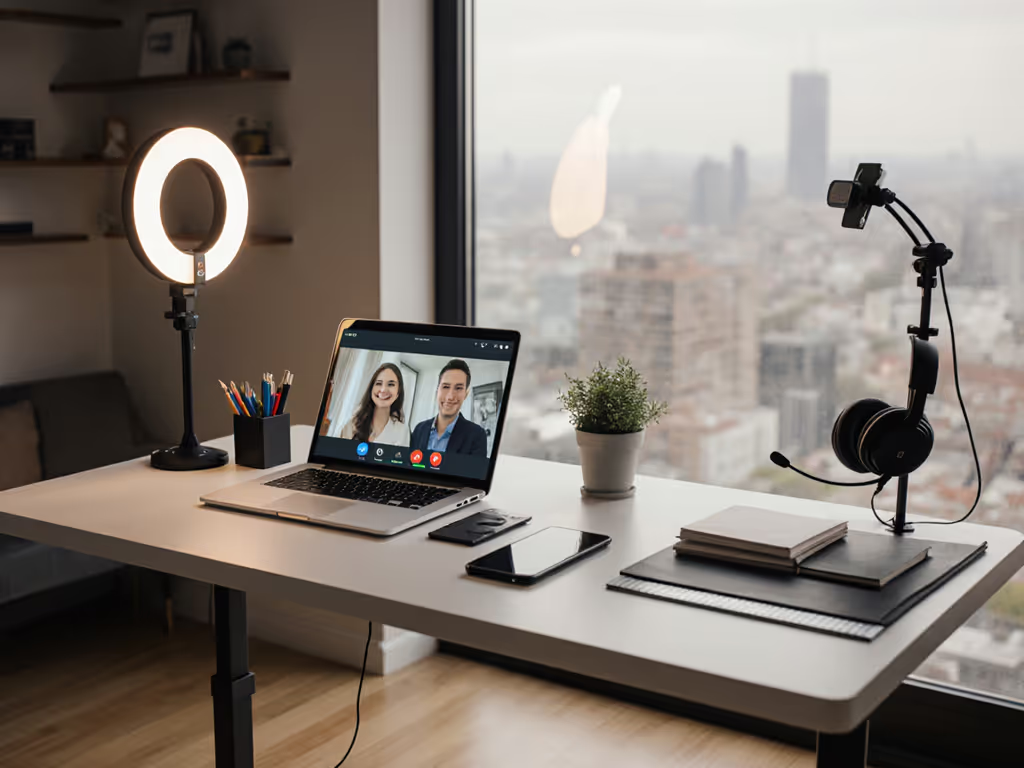
- Will I add a mounted microphone boom or ring light? If video presence matters, our video call desk essentials picks streamline lighting, audio, and mounting.
For each "yes," verify expansion slots on your grid. A rail system with three empty mounting holes is already ready. A single clamp setup will need re-engineering. A cable channel with 40% unused capacity will accommodate new power draws.
Document your setup for future reference. Take photos of your final layout, label cable runs with painter's tape, and store dimensions in a shared family note. When you do upgrade, you will avoid the collision trap, and you will reconfigure in minutes instead of days.
Step 7: Create Your Comparison Matrix
Now, synthesize all this into a simple decision tool:
| Accessory Type | Primary Use | Mounting System | Child Safety | Scalability | Estimated Cost |
|---|---|---|---|---|---|
| Monitor arm | Multi-screen work | Clamp or rail | Moderate (rail-mounted higher) | High (if rail-based) | $80-$300 |
| Under-desk cable channel | Cable routing | Rail or adhesive | High (sealed) | High (if rail) | $20-$60 |
| Keyboard tray | Ergonomic positioning | Clamp | Low-Moderate | Moderate | $40-$120 |
| Headphone/mic hook | Peripheral storage | Adhesive or grommet | Moderate | Low | $10-$30 |
| Dock organizer | Device charging | Clamp or adhesive | High (enclosed) | Moderate | $25-$80 |
For each row, note your desk constraints (depth, thickness, leg spacing) and cross-reference. A monitor arm that requires 14 inches of underside clearance will not fit your desk if you only have 10 inches available, no matter how good the reviews. A cable management system that uses permanent grommets will not work in a rental. Honest constraint-mapping prevents buyer's remorse.
Step 8: Validate One More Time Before Purchase
Before clicking "buy," perform a final collision audit:
- Overlay each accessory onto your grid. Do any two items occupy the same space at any height (surface, mid-depth, underside)?
- Simulate use. Imagine a typical workday: you rotate the monitor arm, pull out the keyboard tray, set down a coffee mug, your child plays under the desk. Does anything collide?
- Check mounting depth specs. Cross-reference the product manual or spec sheet. Confirm mounting depths match your available space.
- Review return policies. Even with perfect planning, dimensions can vary by 5%. If you split time between home and office, standardize gear with our dual-workspace accessories guide to cut transition time. Know your return window and restocking fees before committing.
- Verify child safety features one final time. Are all cords enclosed? Are sharp edges eliminated? Is the setup stable against accidental bumps?
Your Action: Blueprint Your Setup This Week
Map first, mount second, and your next upgrade will flow smoothly instead of colliding.
Here's what to do next:
-
This evening: Measure your desk and sketch a simple overhead view. Mark all constraints: walls, legs, existing outlets, cable locations.
-
Tomorrow: Create a grid coordinates overlay (graph paper or digital tool) and plot your current setup and planned accessories. Keep it simple, but clear.
-
By Wednesday: List the three mounting systems that best suit your constraints and cross-check them against scalability needs (will you add a monitor arm? A mic boom?).
-
By Friday: Build your comparison matrix, validate one accessory pairing at a time, confirm child safety measures, and then commit to a purchase order.
This discipline (mapping before mounting) transforms a weekend of returns and frustration into a setup you are proud of and confident will adapt as your family and work evolve. Your future self will thank you when the next upgrade flows smoothly instead of overlapping. Your children will be safer in a thoughtfully designed space. And you will reclaim the mental clarity that comes from a work-parent workspace that actually works.
Related Articles