Best Culinary Professional Desk Accessories For Hybrid Kitchens
By Aisha Karim • 6th Jun
If you spend your day moving between saute pans and spreadsheets, the right culinary professional desk accessories can turn your kitchen into a reliable command center of chef workspace essentials instead of a juggling act of devices, notes, and spills.
Below is a step-by-step guide to designing a hybrid kitchen-office setup that fits your body, protects your gear, and supports a professional culinary workflow without wasting money on mismatched accessories.
Your body is the brief.
Step 1: Define Your Hybrid Kitchen-Office Use Case
Before buying anything, clarify how you actually work in your hybrid kitchen-office setup. For workers splitting time between locations, our dual workspace accessories guide shows portable, quick-setup solutions that translate well to kitchen offices. This keeps you from buying pretty accessories that clash with your real workflow.
Map your core tasks
List what you do in this space on a typical busy day:
- Menu or recipe development
- Recipe testing and timing
- Admin work (costing, ordering, emails, inventory, scheduling)
- Culinary content creation (photo, video, livestreams)
- Virtual meetings or client calls
Now group them into two modes:
- Food-forward mode: hands in ingredients, high splash risk, frequent handwashing.
- Desk-forward mode: typing, editing, budgeting, planning, client work.
You want accessories that let you move between these two modes with minimal friction and minimal wiping.
Identify your main surface
Decide where your "desk" really is:
- Front edge of a counter run
- Kitchen island overhang
- Dedicated console or rolling cart near the kitchen
Note three things:
- Counter height (most kitchens are ~36 in / 91-92 cm).
- Counter depth (often 24 in / 61 cm to the wall or 30+ in on an island).
- Overhead limits (upper cabinets, shelves, or range hoods above).
These measurements will drive which culinary professional desk accessories will fit without colliding with cabinets, walls, or appliance handles.
Step 2: Measure Clearances and Reach Arcs Before You Buy
A hybrid kitchen-office lives or dies by clearances. You want gear that stays out of splash zones but within easy reach so you do not hunch, shrug, or twist every time you check a recipe.
How to map your reach arcs
Stand where you usually prep or type, feet flat, shoulders relaxed.
- Neutral reach arc (low effort, all-day zone)
- Upper arms relaxed by your sides.
- Elbows bent about 90 degrees.
- Forearms sweeping a semi-circle in front of you.
- Anything you need all the time (keyboard, trackpad, pen, tasting spoon) lives here.
- Extended reach arc (occasional zone)
- Straighten your arms forward without leaning.
- This is where a tablet stand, monitor, or recipe copyholder should live.
- Overhead reach
- Raise one arm comfortably, without shrugging.
- This defines safe height for clamp lights, overhead camera rigs, or shelves.
Comfort emerges when clearances match your natural reach arcs.
When I audit workspaces, nearly every discomfort traces back to something blocking those arcs: a drawer, a crossbar, a cabinet, or a poorly placed accessory that forces a shrug-forward posture.
Check collision points
Do a quick collision survey:
- Open all nearby drawers and doors.
- Slide your chair or stool in and out.
- Simulate placing a laptop or keyboard at the counter edge.
Look for spots where a potential keyboard tray, laptop stand, or monitor riser would hit:
- Center drawers
- Cabinet doors
- Dishwasher or oven handles
- Wall tiles or backsplash ledges
In my own setup, a center drawer once forced my keyboard tray too low and too far forward, which is how wrist pain snuck in despite an expensive keyboard. In a kitchen, the same thing happens when an accessory competes with a drawer or cabinet door that you open all day.
Document these measurements:
- Counter height and depth
- Distance from counter edge to backsplash
- Underside thickness of countertop (for clamps)
- Overhang depth (front lip to cabinet face)
- Space between upper cabinets and counter
Keep these numbers handy. They will filter your options so you can buy once with confidence.
Step 3: Protect Tech in a Food-Safe Workspace
Hybrid kitchen-office setups fail fast when food splashes, steam, and sticky hands reach your devices. The first group of chef workspace essentials should protect your tech while staying food-safe and easy to sanitize.
Washable, food-safe desk mats
A large mat defines your "desk" zone on a shared counter and catches splashes. If you're weighing grip, heat tolerance, and cleanability, see our desk accessory materials guide for science-backed trade-offs.
Look for:
- Material: Food-safe silicone or TPU are ideal. They resist heat, tolerate disinfecting wipes, and do not absorb oil.
- Size: Aim for a mat that is 2-4 in shorter than your usable counter width so it does not curl over the edge.
- Texture: Slightly grippy so laptops and keyboards stay put but smooth enough to wipe easily.
- Raised edge or flat: A small lip at the front can stop coffee or stock from running under your keyboard, but make sure it does not dig into your wrists.
Comparison notes:
- Silicone mats: Heavier, more heat-resistant, stay flat. Great right next to the stove.
- Thin TPU mats: Lighter, often clearer or more minimal visually, but can slide on very smooth stone unless textured.
Place your mat so the front edge aligns with where your wrists naturally rest during typing, inside your neutral reach arc.
Keyboard and trackpad protection
Recipe testing involves flour, sugar, and liquids that drift toward keys. Consider:
- Form-fitting keyboard covers: Silicone or TPU skins sized to your keyboard model. Good for dedicated desk keyboards.
- Universal keyboard sleeves: Clear, flexible covers that you place over less common keyboards. Slightly less "pretty" but highly protective.
- Separate washable input set: A simple wireless keyboard and mouse or trackpad reserved for the kitchen, both easy to wipe down.
Practical guidance:
- If you type heavy admin work here daily, prioritize key feel and choose a tight cover that does not pool over the keys.
- If you mostly tap notes and search recipes, a looser universal cover or sleeve is fine and often cheaper.
Position your keyboard so your elbows are at roughly 90 degrees and shoulders stay relaxed. In a standing kitchen setup, this may mean sliding a portable keyboard slightly closer to you than your laptop, or raising your laptop screen and keeping input devices in your ideal zone.
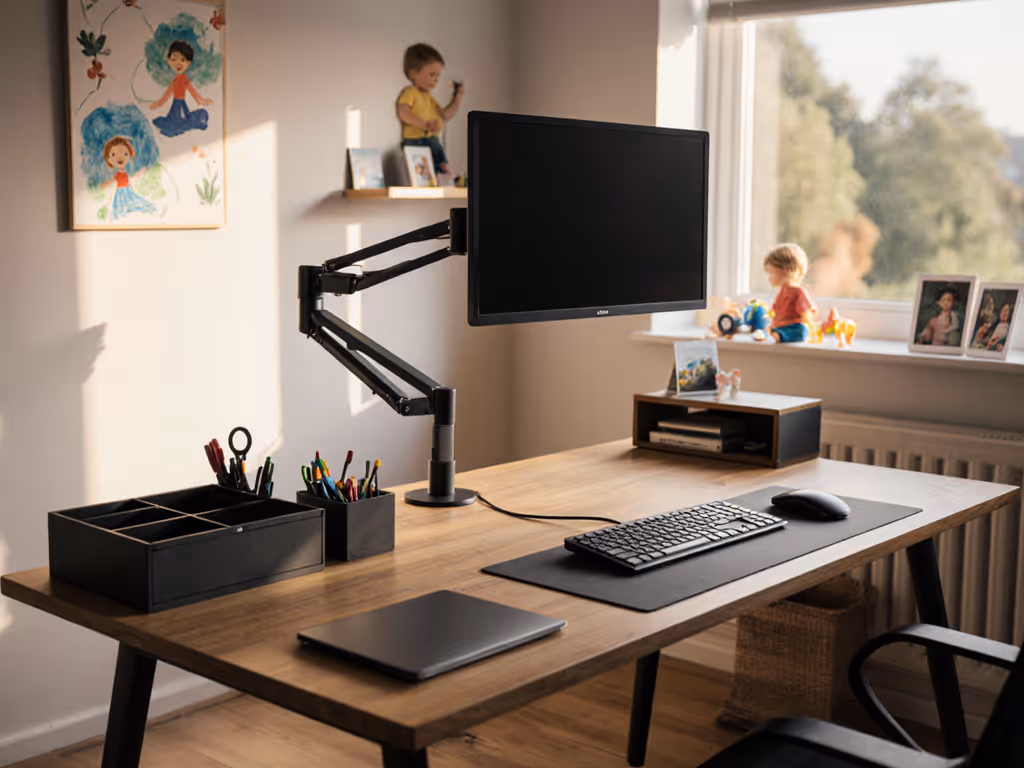
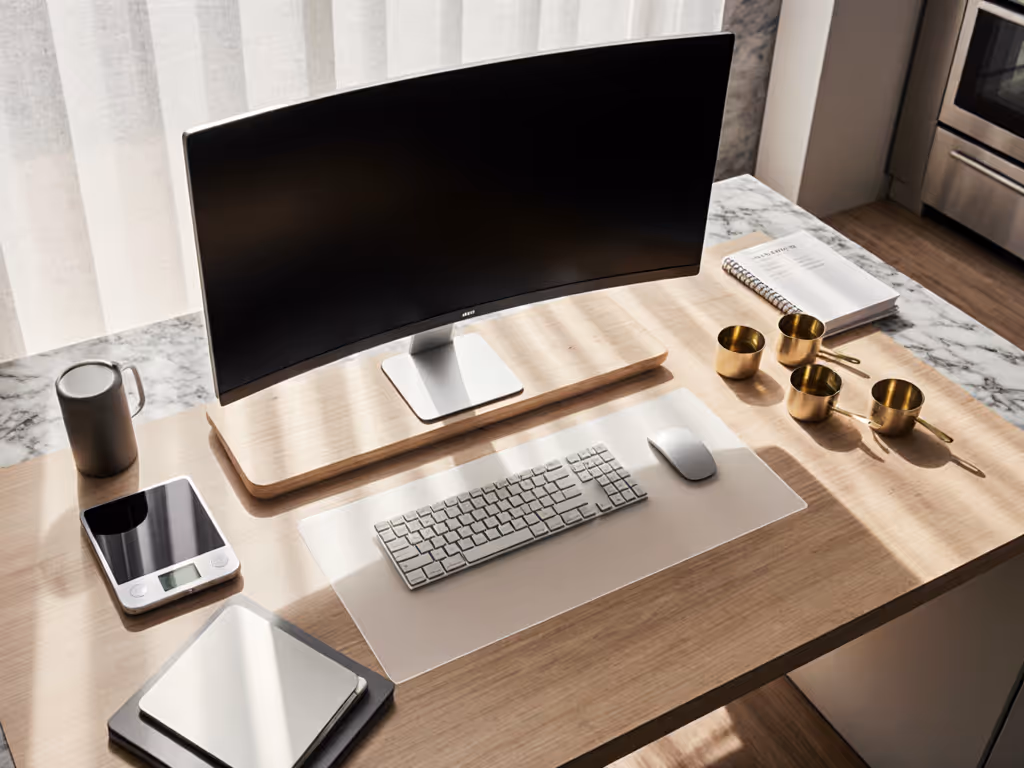
Splash-smart monitor and laptop positioning
You want screens far enough from active cooking to avoid grease and steam, but close enough to read timers, weights, or notes.
Consider:
- Low-profile monitor risers: Ideal on islands or added bakery tables. They lift the screen 3-5 in so your neck stays neutral while keeping the base stable.
- Clamp-on monitor arms: Excellent for counters with a few spare inches behind them. Measure:
- Counter depth from front edge to wall.
- Thickness of the countertop for clamp compatibility.
- Distance from wall to upper cabinets to ensure the arm can swing.
For laptops:
- Use a tilted laptop stand to raise the screen and improve airflow.
- Keep the stand just beyond your neutral reach arc, then rely on a separate keyboard and trackpad in the neutral zone.
Risk note: Avoid placing screens directly above active gas burners or constantly steaming pots. Long-term exposure to heat and oil mist shortens display and hinge life.
Step 4: Recipe Management Desk Tools That Respect Your Reach Arcs
Efficient recipe management desk tools keep your reference material visible without cluttering your primary prep space. This matters even more when you are also a culinary content creator who needs cameras and lights in the same footprint.
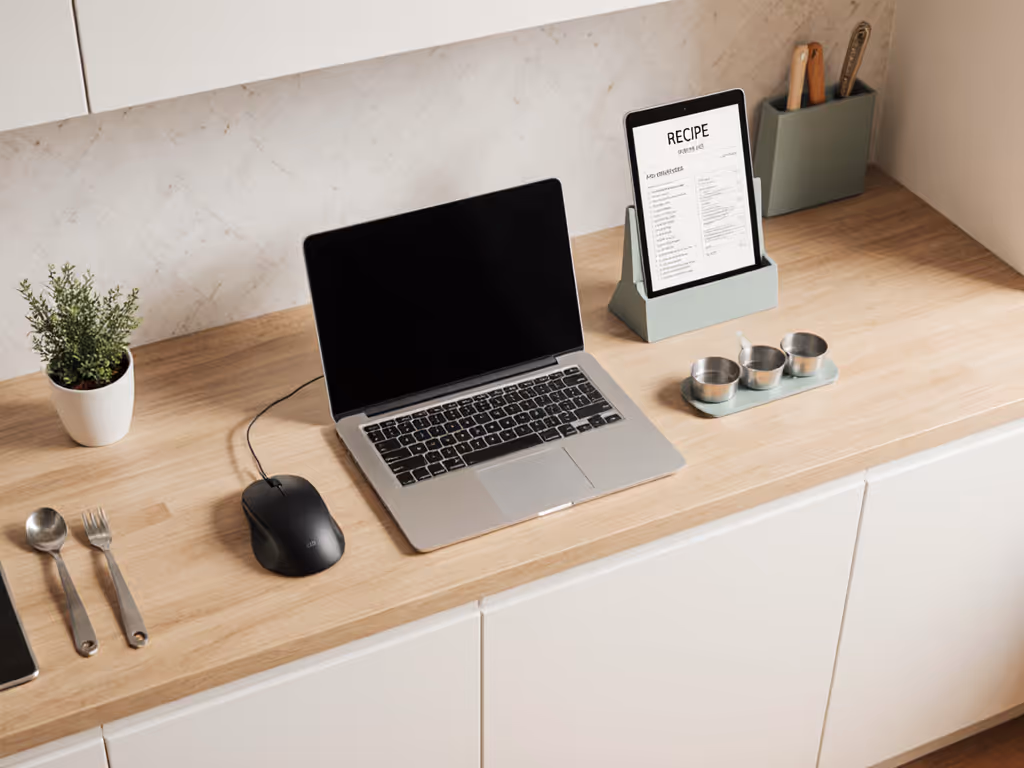
Adjustable tablet and cookbook stands
For most hybrid kitchen-office setups, a tablet is your recipe hub and sometimes your teleprompter.
Key options:
-
Freestanding tablet/cookbook stands
-
Pros: Easy to move, no clamping, work on any surface.
-
Cons: Take up counter depth and can drift into the splash zone.
-
Clamp-on stands (edge of counter or shelf)
-
Pros: Free up counter real estate, more stable for tapping or swiping, better for narrow counters.
-
Cons: Need a clean edge and known countertop thickness. Can collide with drawers or cabinet doors if you do not measure.
-
Rail or wall-mounted holders (for renters, use removable adhesive rails where allowed or tension-mounted systems between cabinets)
-
Pros: Float the screen above mess, ideal for busy cooking days.
-
Cons: Less flexible if you shift your main station often.
Fit checks:
- Place your stand so the center of the screen is roughly at eye level or slightly below when you stand upright.
- Make sure you can tap the screen within your extended reach arc, without leaning.
Document and printout holders
If you still use printouts or ticket-style orders:
- Choose a copyholder that clips to a riser or monitor stand, or a flat one that sits just behind your keyboard.
- Target a height where you glance down slightly from your primary screen instead of craning.
For culinary content creators who annotate recipes while filming, choose holders with a small ledge that can accommodate index cards or cue notes.
Secondary screens for reference
Many culinary content creator desk accessories now center on multi-screen setups: one screen for editing or streaming tools, another for recipes, chat, or notes.
Options:
- Small vertical display on a slim stand behind your main laptop. Ideal for chat, reference PDFs, or shot lists.
- Tablet as second screen via sidecar or screen-sharing apps, on a clamp-on arm positioned above and slightly to the side of your primary display.
Check that your extended reach arc comfortably touches the bottom edge of this reference screen. If you have to lean each time you adjust a timer, your shoulders will know by the end of a long service or filming day.
Step 5: Food-Safe Workspace Organization and Cable Control
Good food-safe workspace organization is what keeps your hybrid kitchen-office functional instead of fragile. You want cables and gear routed away from heat, water, and sharp edges, yet accessible for reconfiguration.
Vertical and under-cabinet storage for tech
Look for:
- Under-cabinet hooks and shelves for headphones, chargers, and small interface boxes.
- Magnetic strips or rails for metal tools and certain tech accessories with metal clips.
- Slim pegboard or rail systems near but not directly above the stove.
Guidelines:
- Keep anything with fabric (headphones, mic covers) away from grease plumes.
- Reserve eye-level space for items you use many times per session: headphones, SD card cases, small reference notebooks.
Cable routing away from danger zones
Cables are where kitchen risk and office tech really collide. For product categories and measurement tips that prevent snags in tight spaces, read our cable management systems comparison.
Best practices:
- Route power strips away from the sink and stove, ideally along a wall that stays cool and dry.
- Use removable adhesive cable clips along the underside of cabinets or the back edge of the counter. Check that the adhesive is rated removable for renter-friendly use.
- Bundle low-voltage cables (USB, HDMI) in a flexible sleeve and keep them above the counter if possible, then drop a single bundle down to a grounded outlet or power strip.
- Avoid running cables across floor walk paths. If unavoidable, use low-profile covers and measure door clearances so nothing catches.
Aim for cable runs that do not cross your neutral reach arc at wrist height. The fewer things you bump when reaching for knives or spices, the safer and calmer your space feels.
Step 6: Seating, Posture, and Hybrid Perching Solutions
Ergonomics in a kitchen-office is rarely about buying the fanciest chair. It is about aligning counter height, stool height, and input device position so you can work without shrugging or bending all day.
Standing at a kitchen counter as a desk
For many culinary professionals, standing is natural. The issue is screen height and wrist angle, not the act of standing.
Check:
- When your hands rest on the keyboard or trackpad, your elbows should be close to 90 degrees with relaxed shoulders.
- If your counter is too high, raise your input devices slightly toward you or use a very thin mat instead of a thick one.
- Use an anti-fatigue mat sized so you can shift stance without stepping off.
- Keep a footrest or low bar (some stools have one) within reach so you can alternate placing one foot up. This offloads your lower back.
Using a stool or high chair
If you do a lot of desk-style work at the counter:
- Choose a stool height that allows your forearms to be parallel to the counter when typing.
- Check knee clearance from stool seat to underside of countertop and any rails.
- Ensure the stool can slide fully under the counter without hitting supports.
This is where a small mismeasurement can force you into a rounded-shoulder posture for hours.
Keyboard trays for hybrid kitchens
Some hybrid setups benefit from a low-profile keyboard tray mounted under an island overhang or auxiliary desk near the kitchen.
Fit checklist:
- Measure from floor to underside of the counter.
- Subtract your ideal seated elbow height (usually your seated elbow height from seat to elbow plus seat height).
- This difference is your target tray thickness plus keyboard height.
You want a tray that:
- Clears your knees and thighs by at least 1-2 in.
- Slides without hitting center drawers, crossbars, or cabinet faces.
- Parks the keyboard inside your neutral reach arc when extended.
I once traced persistent wrist discomfort back to a tray that collided with a drawer, forcing it lower and farther away than planned. The fix was a slimmer track and shorter tray that respected both my knees and the drawer. Kitchens hide similar traps. Always test open/close paths for drawers and your chair before committing to any under-counter accessories.
Remember: Comfort emerges when clearances match your natural reach arcs. When your keyboard, mouse, and posture align with your body dimensions, long editing sessions feel less punishing.
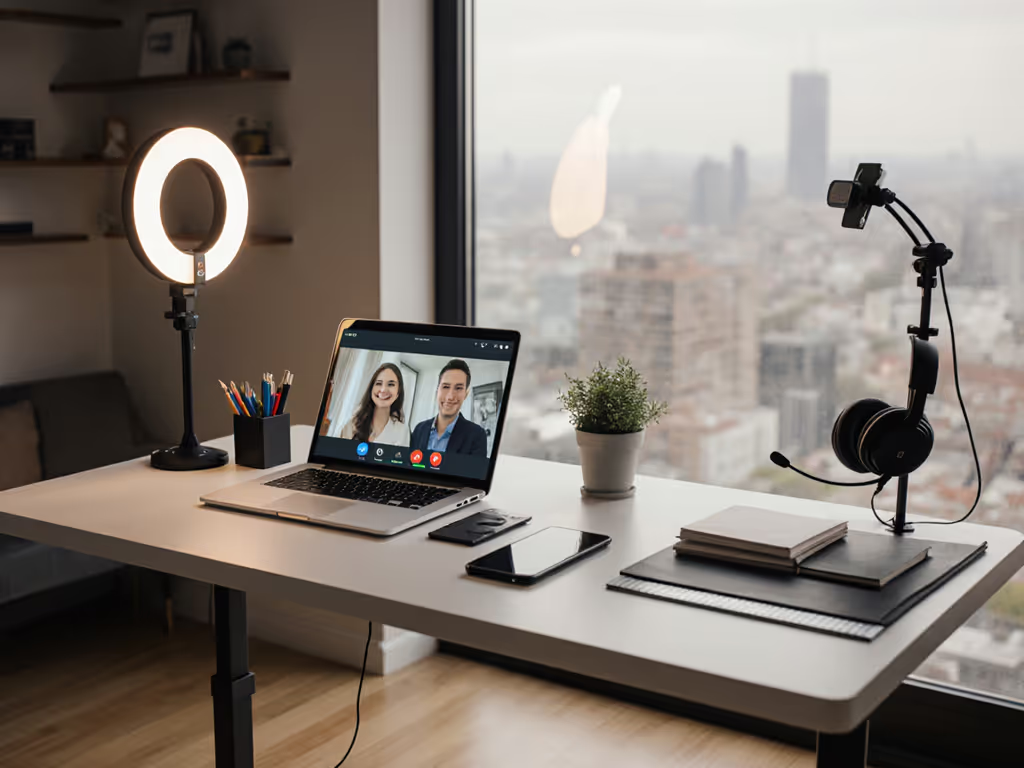
Step 7: Lighting, Cameras, and Sound for Culinary Content Work
If you also record or stream, your culinary content creator desk accessories extend into lights, cameras, and audio gear. For platform-specific layouts and gear placement, start with our content creator desk setup guide. Here, the priority is a layout that does not fight cabinets or ceiling height.
Task and key lighting
For both cooking and desk work, you need:
- Consistent overhead light that does not cast harsh shadows on your cutting board or keyboard.
- Adjustable key light (often a panel or ring) positioned above eye level and slightly off center so you avoid glare on screens.
Clamp lights:
- Choose clamps that match your shelf or counter thickness.
- Check the arm length so the light can reach over the work area without colliding with upper cabinets.
If you are a renter, prioritize clamps and weighted bases instead of hard mounts.
Camera positioning
Common setups:
- Front-facing camera on a monitor or tripod for talking to camera.
- Overhead or 45-degree camera for capturing hands, cutting boards, and pans.
To minimize collisions:
- Use articulated arms mounted at the edge of a counter or on a sturdy cart.
- Measure from the mounting point to any upper cabinet so the arm can swing without hitting.
- Make sure the camera lives in your extended reach arc, so you can quickly adjust framing between takes.
Audio considerations
Kitchen acoustics can be harsh. Accessories that help:
- Compact shotgun mic mounted on a camera or small boom arm to reduce room noise.
- Soft surfaces (rugs, curtains, chair cushions) to tame echo.
Keep mic cables routed along the same disciplined paths as your other cables so nothing dangles near pots or burners.
Step 8: Example Hybrid Kitchen-Office Kits by Space Type
To reduce analysis paralysis, here are three example "kits" that combine culinary professional desk accessories into coherent setups. Treat them as blueprints and adapt to your measurements.
1. Compact Galley Hybrid Station
For narrow counters with little depth and upper cabinets close overhead.
Prioritize:
- Slim silicone desk mat sized to leave 1-2 in of bare counter at the front for easy wiping.
- Form-fitting keyboard cover on a compact wireless keyboard.
- Tilted laptop stand pushed toward the backsplash, within your extended reach arc.
- Clamp-on tablet stand attached to a shelf or the counter edge, keeping recipes above splashes.
- Under-cabinet hooks for headphones and a small cable bundle routed along cabinet bottoms.
Skip large monitor arms here unless you have at least 4-5 in of clearance behind the counter and enough vertical room under cabinets.
2. Island-Based Content Creator Hub
For an open island that doubles as prep station, filming area, and desk.
Prioritize:
- Large food-safe mat defining your "desk lane" along one side of the island.
- Separate wireless keyboard and trackpad or mouse, both washable.
- Monitor riser or single monitor arm mounted at the island edge (check thickness and overhang for clamping).
- Freestanding or clamp-on tablet stand for teleprompter or recipe viewing.
- Articulated key light and optional overhead camera arm anchored at the far edge of the island so it reaches in without blocking your face or hands.
- Floor-standing or clamp power solution with disciplined cable routing down a single island corner.
Here, plan your geometry so you can pivot between cooking and editing without moving more than a step or two.
3. Dedicated Pastry Desk Near the Kitchen
For a smaller auxiliary table just off the main cook line.
Prioritize:
- Thin, easy-clean desk mat for flour-heavy work.
- Low-profile keyboard tray under the table if you do long admin or editing sessions.
- Single external monitor on a low riser, with a tablet copyholder to one side.
- Small reference shelf or rail on the wall for notebooks, thermometers, and timers.
- Under-desk cable tray for a power strip, keeping cords off the floor and away from cleaning equipment.
This setup is ideal for long recipe development days when you move between dough, laptop, and tasting notes in a focused loop.
Step 9: A Step-by-Step Shopping and Setup Checklist
To convert this into action and avoid return fatigue, walk through this sequence.
-
Map your workflows Write down your top 5 tasks in the hybrid space and label each as food-forward or desk-forward.
-
Measure everything once Capture counter height, depth, thickness, backsplash distance, and upper cabinet clearance. Note any drawers or doors that could collide with clamps or trays.
-
Define your neutral and extended reach arcs Stand or sit where you will work. Trace how far your arms go comfortably without leaning. This will decide where your keyboard, trackpad, and primary screen should live.
-
Secure protection first Start with a washable mat and keyboard protection. These small items preserve more expensive devices and immediately make your space calmer.
-
Add reference tools next Choose a tablet or cookbook stand and, if needed, a copyholder that fits your counter depth and avoids splash zones.
-
Layer in screens and arms Only after measuring should you add monitor risers or arms. Confirm clamp range, arm reach, and cabinet clearance before buying.
-
Tidy cables intelligently Route cables along surfaces that stay dry and cool. Use removable clips and sleeves so you can refine the layout without damage.
-
Refine posture and comfort Adjust stool height, tray position, or mat thickness so your shoulders are relaxed and wrists are neutral when you type or edit.
-
Document your final geometry Once it feels good, note key distances: eye to screen, keyboard to counter edge, stool height, mat size. This becomes your reference if you move or upgrade.
Your body is the brief. Every accessory choice should respond to your measurements, your reach arcs, and your real tasks, not to a generic product photo.
Actionable Next Step
Grab a tape measure, a notepad, and stand where you naturally work in your kitchen.
- Measure your counter height, depth, and the space under any upper cabinets.
- Sketch a quick top-down view and mark your neutral and extended reach arcs.
- Choose one upgrade in this order: a washable mat, a keyboard/trackpad protection solution, or a recipe stand that fits your drawing.
Install that single piece, adjust it to your body, and live with it for a few days. Let the comfort and clarity you gain from that one deliberate choice guide your next accessory decision.
Comfort emerges when clearances match your natural reach arcs. Start there, and your hybrid kitchen-office will feel like it was built for you, because in measurable ways, it will be.
Related Articles