Migraine-Friendly Desk Accessories: Lighting & Layout Blueprint
By Sora Tanaka • 17th Dec
As a workspace planner who transforms chaotic undersides into precision-engineered ecosystems, I see too many professionals sacrificing productivity to preventable lighting conflicts. The right migraine-friendly desk accessories aren't just about comfort, they are precision instruments in your workflow arsenal. When implemented with proper spatial planning, office lighting for headaches becomes a strategic advantage rather than a reactive fix. Today, I'll share how my grid-based blueprint system converts lighting chaos into a collision-free workflow that scales with your needs.
Map Your Trigger Zones First
Before selecting a single accessory, conduct a 72-hour trigger audit across grid coordinates of your workspace. Migraine triggers aren't random, they follow spatial patterns tied to lighting angles, screen positions, and environmental factors. Document each incident with:
- Time of day
- Lighting conditions (natural/artificial, color temperature)
- Screen brightness settings
- Physical workspace configuration
- Task being performed
This creates your foundational underside map: a critical document that reveals collision points between your workflow and physiological triggers. Just as I once helped a client resolve a 12mm overlap between their new monitor arm and raceway, identifying exact spatial relationships prevents future conflicts. Pay special attention to how overhead lighting interacts with screen glare at different times of day.
Map first, mount second. This isn't philosophy, it's engineering protocol.
Lighting Temperature Strategy
Based on National Headache Institute research, soft/warm white lights (2,700K range) create fewer electrical signals in light-sensitive neural pathways than cool white or daylight bulbs. However, recent studies show narrow-band green light therapy (approximately 530nm wavelength) produces even smaller neural responses for many migraine sufferers. Your blueprint must account for both:
- Ambient lighting: Maintain 2,700K baseline throughout workspace
- Task lighting: Integrate targeted green light sources where needed
- Transition zones: Plan gradual dimming between areas
Document your current lighting setup with lux meter readings at key work positions. Most professionals operate between 300-500 lux, but migraine sufferers often require 150-250 lux during acute episodes. For lamp selection metrics like CRI, dimming curves, and glare control tailored to sensitive eyes, see our desk lamp comparison. This data becomes your reference point for strategic lighting placement.
Execute Your Collision Audit
Screen-Environment Balance Analysis
Modern workspace lighting requires solving the contrast equation: your screen brightness versus ambient light. When contrast exceeds 3:1 ratio (as defined by ANSI standards), eye strain increases dramatically. Perform this spatial analysis:
- Measure screen brightness at typical working distance
- Document ambient light levels at keyboard position
- Calculate contrast ratio between these two points
- Identify where ratio exceeds 3:1 threshold
This precision approach prevents the "band-aid fixes" that create new problems. Many professionals install bright task lights only to discover they've amplified screen glare, creating a new trigger point. Your blueprint must account for light directionality, not just intensity.
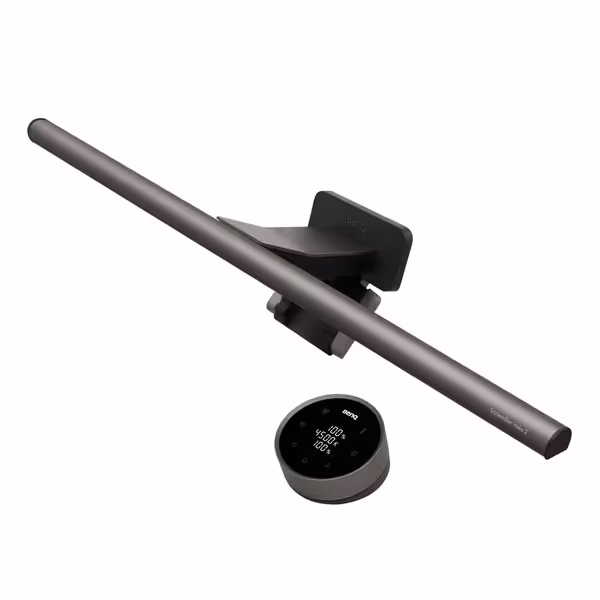
BenQ ScreenBar Halo 2 Monitor Light
Eliminate glare, reduce eye strain, and illuminate your workspace effectively.
$179
Monitor Compatibility0.17"-2.36" thick, 1000R-1800R curved
Monitor Compatibility0.17"-2.36" thick, 1000R-1800R curved
Pros
Glare-free, eye-safe illumination with backlight reduces fatigue.
Wireless controller and smart features for effortless light adjustments.
Cons
Higher price point compared to basic options.
Customers find the monitor light to be well-made and easy to install, with good functionality that automatically turns on and off. They appreciate its brightness, with one customer noting it works well in dim rooms, and its ability to eliminate glare and reduce eye strain. The light bar receives positive feedback for its sleek design, and while some customers consider it worth the money, others find it pricey.
Customers find the monitor light to be well-made and easy to install, with good functionality that automatically turns on and off. They appreciate its brightness, with one customer noting it works well in dim rooms, and its ability to eliminate glare and reduce eye strain. The light bar receives positive feedback for its sleek design, and while some customers consider it worth the money, others find it pricey.
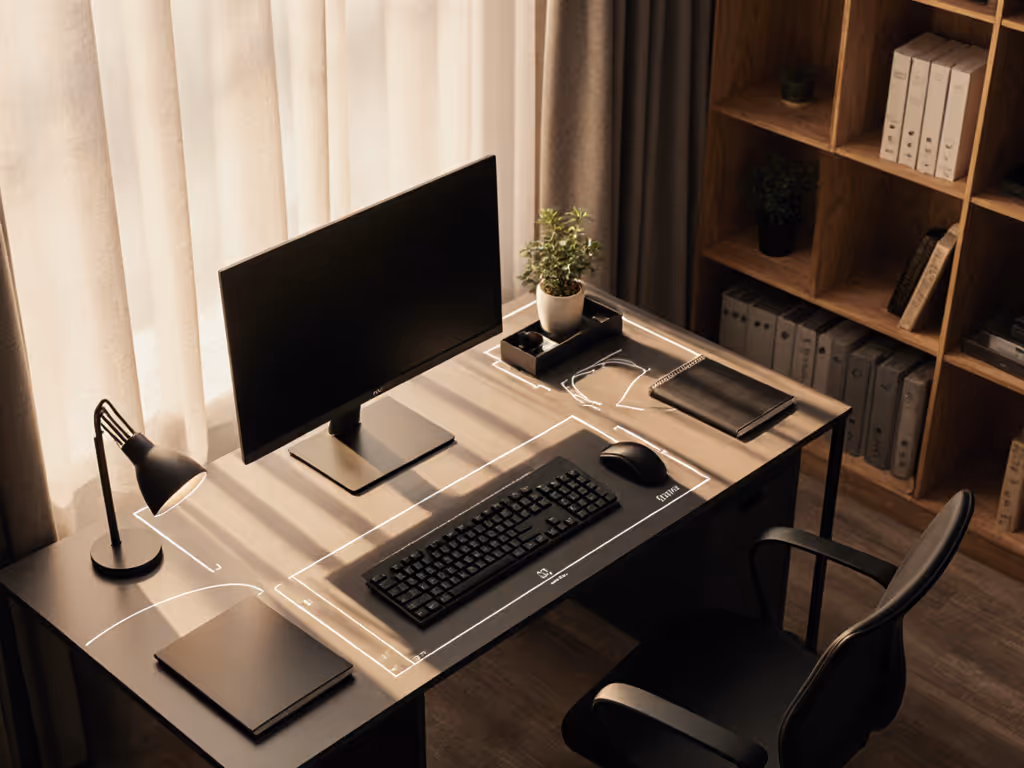
Accessory Integration Grid
When selecting migraine-friendly desk accessories, apply modular rail principles to your lighting plan. Treat each component as a potential collision point requiring standardized spacing:
- Mounting depth: Document how far each accessory protrudes from primary surfaces
- Expansion slots: Reserve 15-20% capacity for future additions
- Clearance zones: Maintain minimum 25mm buffer around all components
This grid-based approach prevents the common pitfall of "temporary solutions" that later conflict with permanent upgrades. I've seen countless setups where a well-intentioned blue light filter solution collided with monitor arms during dual-screen expansion, simply because no one documented the mounting depth requirements.
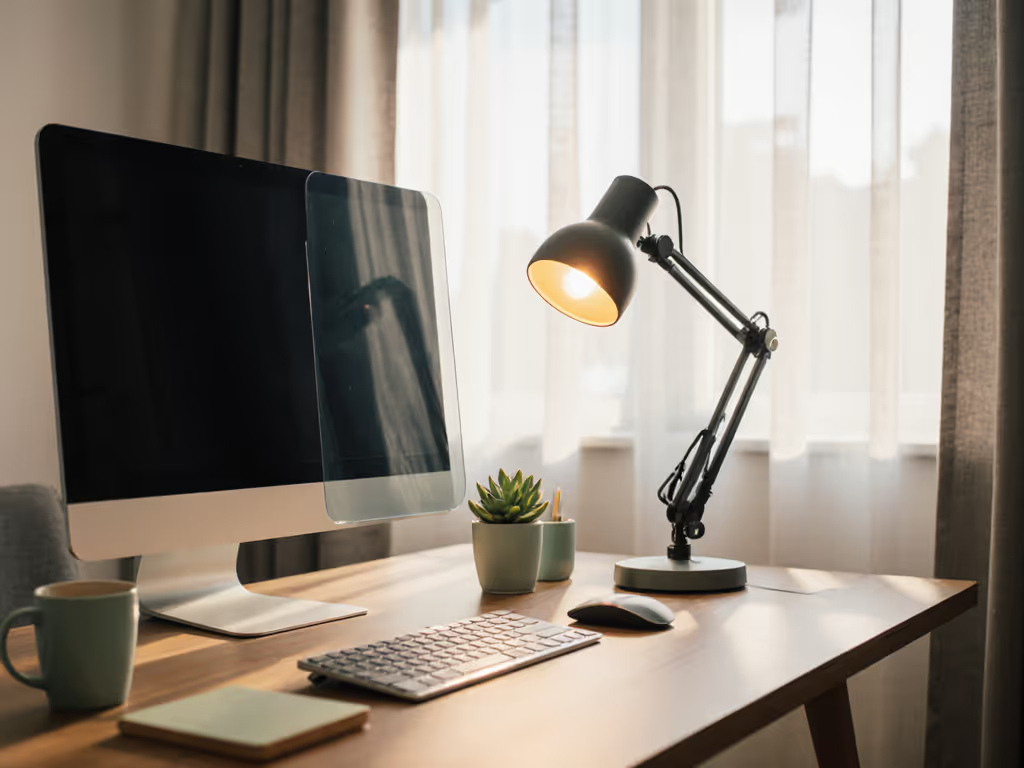
Build Your Modular Lighting Ecosystem
Phase 1: Foundation Lighting
Begin with ambient lighting that establishes your migraine-resistant baseline. This layer requires the most precise spatial planning:
- Install dimmable warm white (2700K) overhead or indirect lighting
- Position light sources to avoid direct reflection on screens
- Implement zone controls for different workspace areas
- Verify even illumination across entire work surface
Calculate your lighting coverage using this formula:
Required Lumens = (Workspace Area in sq ft) × (Target Lux Level ÷ 0.65)
The 0.65 factor accounts for typical desk reflectance. This engineering approach prevents the common mistake of "eyeballing" ambient light levels, then struggling with inconsistent coverage during critical work periods. For calming ambient setups that reduce visual stress, explore workspace mood lighting and desk plants.
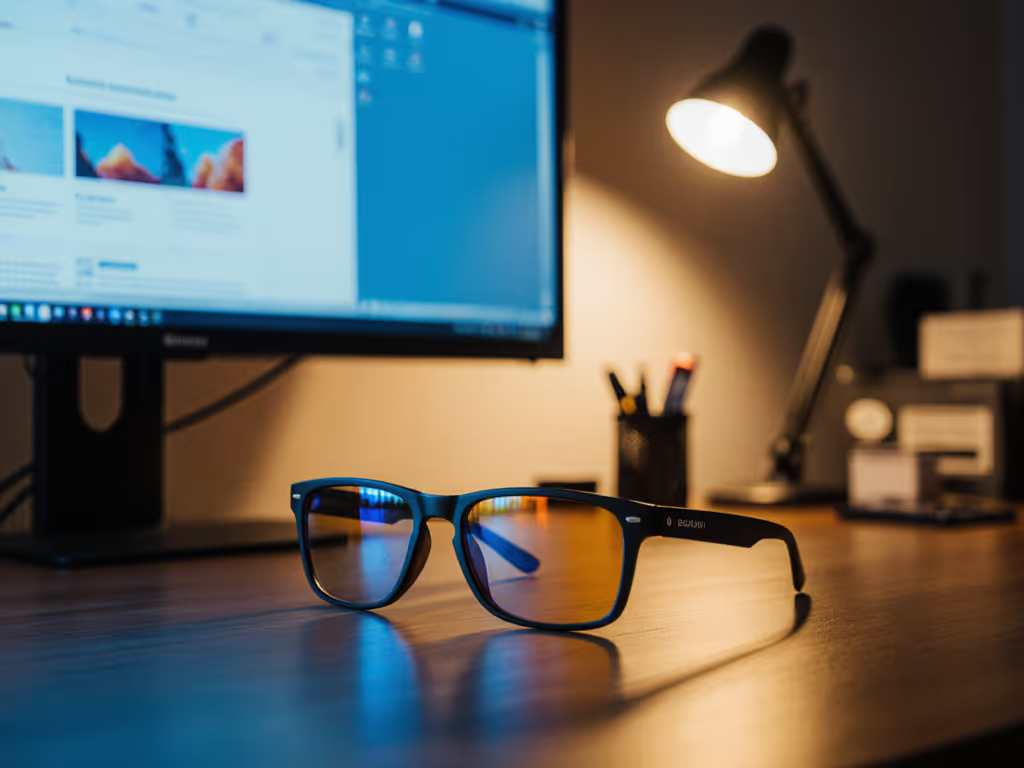
Phase 2: Targeted Therapy Zones
Now integrate specialized lighting where your trigger audit identified needs. This is where blue light filter solutions and green light therapy become strategic components rather than reactive fixes:
- Position green light sources at 30-45 degree angles to primary work zone
- Implement stepless dimming to match circadian rhythm needs
- Ensure therapeutic lighting doesn't create new glare points
- Document exact placement in your grid system for future reference
The most effective setups position therapeutic lighting to illuminate work surfaces without creating additional visual noise. This requires precise coordinate planning, not just "placing a lamp somewhere that seems right." Map what works and repeat it. If you work late, align light spectrum and intensity with circadian health using our science-backed circadian lighting guide.
Validate Your Upgrade Path
Future-Proofing Your Migraine Defense
Your migraine-friendly desk accessories must accommodate three predictable evolution paths:
- Workspace expansion: Adding monitors, peripherals, or collaboration tools
- Lighting refinement: Incorporating new research-based solutions
- Environmental adaptation: Adjusting to different rooms or work locations
Document each component's:
- Physical footprint
- Power requirements
- Compatibility specifications
- Upgrade pathways
This creates your collision audit checklist for future purchases. When a new gadget arrives, you'll know instantly whether it fits your spatial and operational parameters, no more guessing whether that new monitor light will interfere with your existing cable management system. To keep power and signal lines organized without new trigger points, pick from our tested cable management systems.
Expansion Slot Protocol
For true ergonomic migraine prevention, implement this modular approach:
- Reserve 20% of all mounting surfaces for future accessories
- Standardize fastening systems across your ecosystem
- Document all clearance requirements in your master blueprint
- Maintain consistent coordinate references across all components
This transforms your workspace from a collection of individual solutions into a cohesive, evolving system. That's how you achieve genuine low-stress workspace design, where every addition complements rather than compromises your migraine prevention strategy. For a research-backed checklist of tools that reduce strain during long sessions, see our ergonomic desk accessories guide.
Execution Checklist: From Blueprint to Reality
Before implementing your plan, verify these critical points:
- All lighting components maintain appropriate distance from screen edges
- Zero glare zones are documented at all typical viewing angles
- Power routing incorporates your under-desk cable management plan
- All components have documented mounting depth specifications
- Your blueprint includes exact coordinates for reproducibility
Remember, proper migraine prevention isn't about finding the "perfect" single solution. It's about creating a coordinated system where all components work together without creating new problems. Your documented grid coordinates become the foundation for painless upgrades.
Take Your First Actionable Step
Download my Under-Desk Mapping Template (free PDF) to document your current workspace with precision grid coordinates. This 15-minute exercise will reveal hidden collision points before they trigger your next migraine episode. Print it, measure your space, and mark your trigger zones, then use those coordinates to strategically position your next migraine-friendly desk accessory. Your future self will thank you when upgrading becomes seamless rather than stressful.
Remember: Blueprints prevent collisions; modular systems with standardized spacing unlock painless upgrades. When you blueprint the underside, future headaches stop colliding with your workflow, and start flowing into productivity.
Related Articles