Industrial vs Minimalist Desk Accessories: Fit & Style Guide
By Aisha Karim • 31st Dec
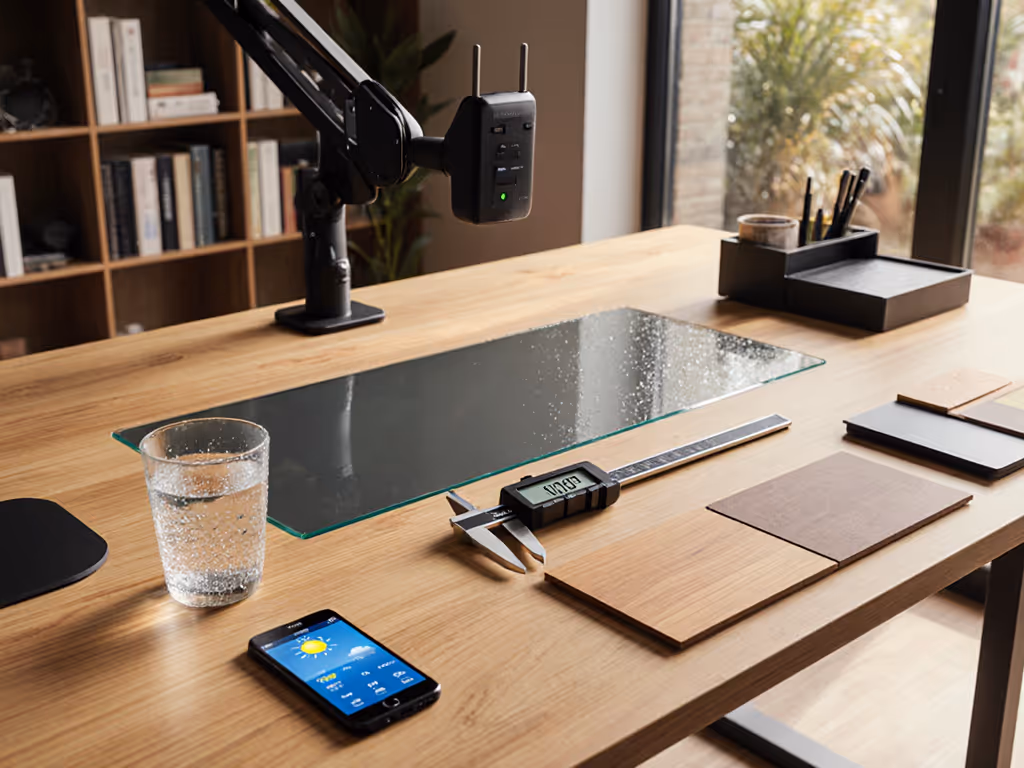
When your monitor arm crashes into the wall or your keyboard tray collides with a drawer, ergonomic discomfort isn't about the brand (it's about desk accessories failing to respect your architectural desk organization). As a non-clinical ergonomics facilitator, I've measured hundreds of home offices where sleek aesthetics masked clearance disasters. Your body is the brief.
In this guide, I'll walk you through a step-by-step dimension audit (no fluff, just measurable adjustments you can implement today). Whether you're drawn to industrial grit or minimalist calm, we'll align accessories with your actual reach arcs, not Instagram aesthetics. Forget "vibes." Let's talk clearance checks, collision zones, and upgrade paths that won't burn your budget or your walls.
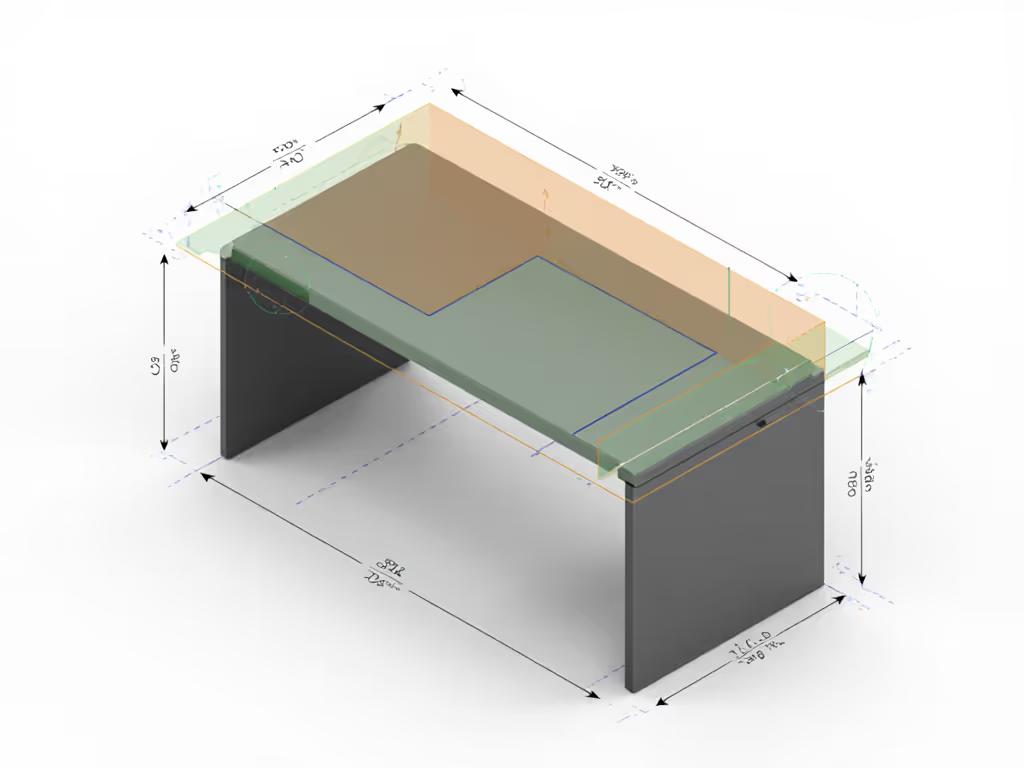
Step 1: Map Your Desk's Hidden Geometry (Before Buying Anything)
Most desk accessory failures stem from ignoring three critical measurements. Pull out your tape measure (this takes 5 minutes but prevents costly returns).
Clearance Checkpoints You Must Measure
- Desk Depth (Front to Back): Standard desks run 24-30" deep. Critical for: Monitor arm reach, keyboard tray depth, and knee clearance. If your desk is ≤24" deep (common in apartments), ultrawides will force you into a hunched posture.
- Crossbar Height & Thickness: Steel desks often have 1.5-2" thick crossbars 28-32" off the floor. Critical for: Clamp mounts colliding with chair arms or under-desk trays.
- Wall Proximity: Measure exactly how far your desk sits from the wall behind it. Critical for: Monitor arm swing radius and cable routing.
Risk Note: I once chased wrist pain for months with "premium" mechanical keyboards, only to discover my tray was 0.75" too deep, forcing me to shrug my shoulders. The fix? A low-profile tray aligned with my knee clearance. Ergonomics is dimensions matching bodies. For health-first picks that actually reduce strain, see our ergonomic desk accessories guide.
Your Action Checklist
- Measure desk depth at your seated position (not the center where specs list it).
- Note crossbar height from floor (not desk surface).
- Measure wall distance with your chair pulled in.
- Sketch your "collision zones" (where drawers open or chair arms swing).
Without these numbers, you're gambling on returns. Renter? Add "no-drill" to your search terms immediately. Our renter-safe eco office gear guide lists no-drill options by desk thickness and weight limits.
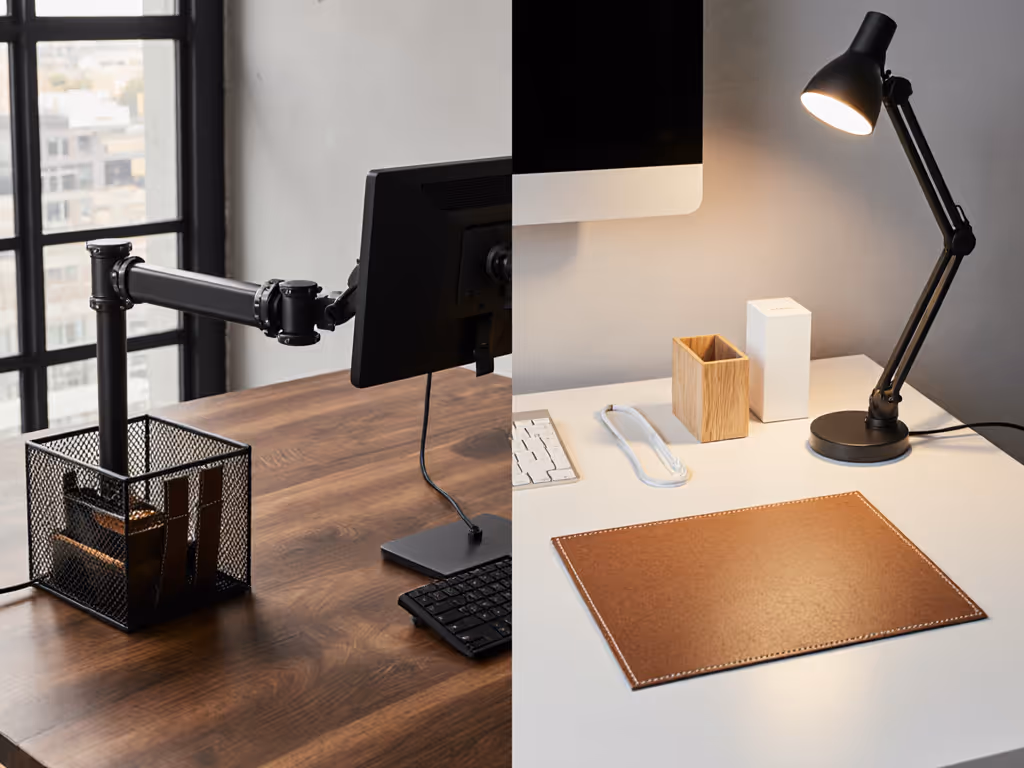
Step 2: Industrial vs Minimalist - Fit First, Style Second
Both styles promise productivity, but their dimensional demands differ wildly. Let's dissect where each thrives, and where they fail based on your architecture.
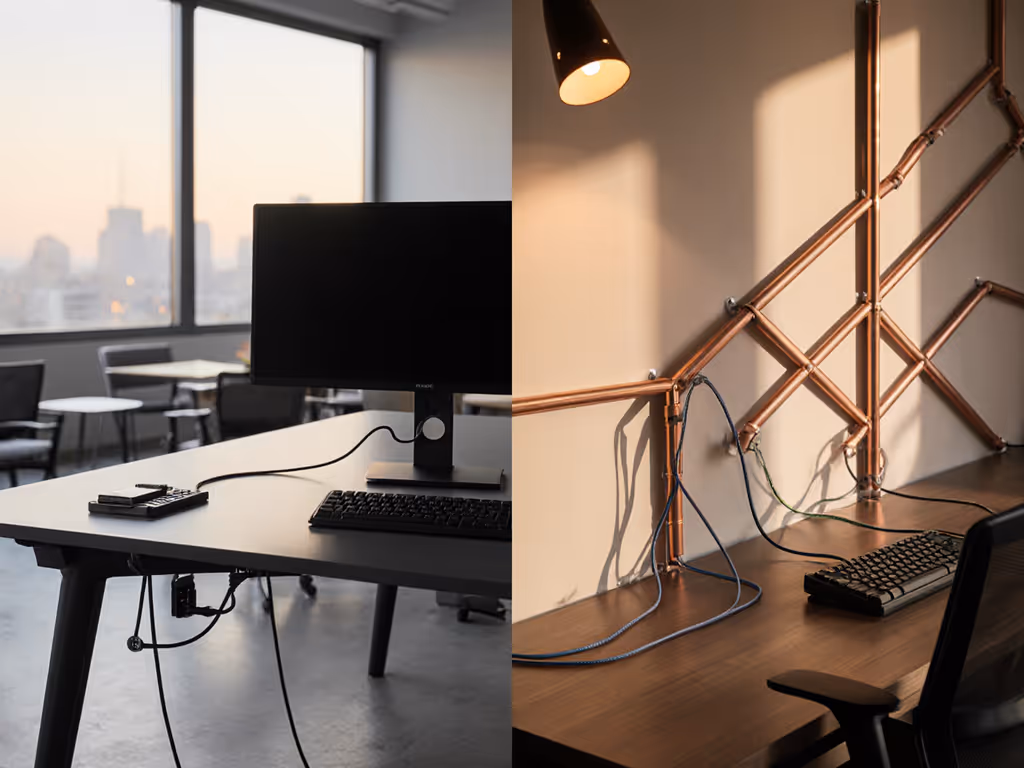
Industrial Desk Setup: Power Tools Need Space
Industrial accessories (exposed metal brackets, riveted trays, leather straps) prioritize raw utility. But their ruggedness creates unique clearance challenges:
-
Pros for Power Users:
- Heavy-duty mounts handle dual ultrawides (up to 55") without sag.
- Thick steel crossbars (2"+) resist flex under monitor arms.
- Modular rails let you reposition gear mid-project.
-
Critical Fit Risks:
- Bulky profiles: Monitor arms need ≥6" wall clearance to avoid collision. Measure your wall distance before buying.
- Crossbar conflicts: Clamp mounts often require 3"+ clearance above crossbars, rare in desks <28" tall.
- Rustic office accessories like wooden monitor stands eat 4-6" of precious desk depth.
Body-First Fit Tip: If your desk is shallow (≤24" deep), skip industrial monitor arms. Opt for low-profile grommet mounts that recess below the surface. If you skip arms altogether, compare monitor stands vs shelf risers to keep screen height dialed without stealing depth.
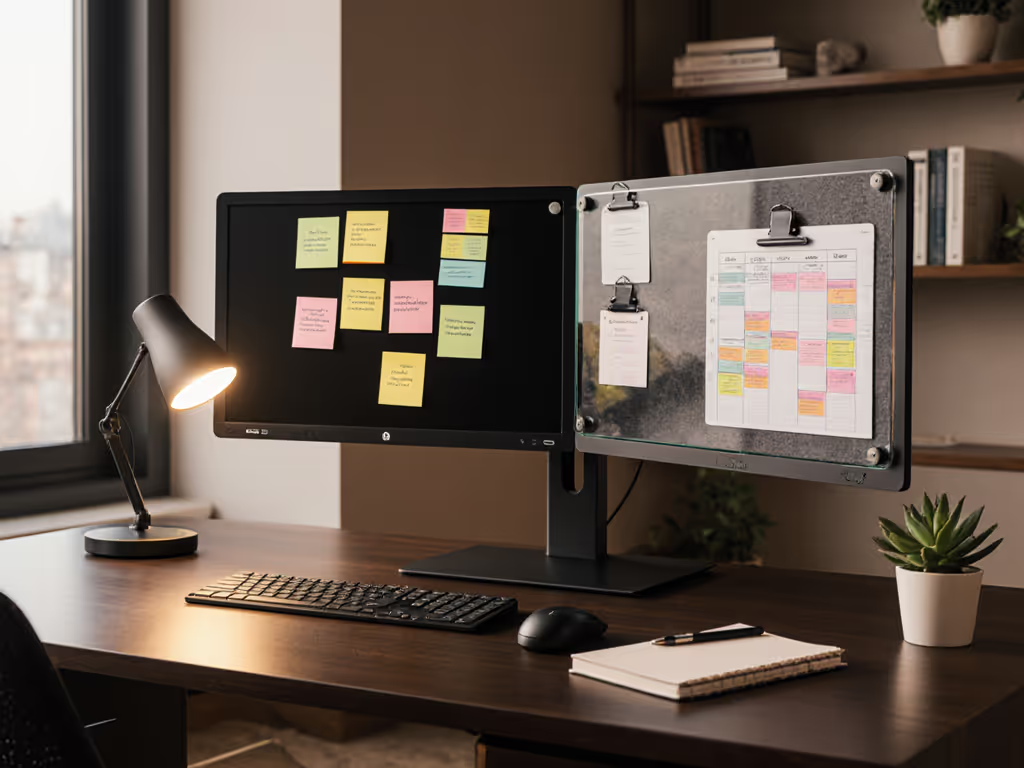
Modern Minimalist Workspace: Sleekness Demands Precision
Minimalist accessories (hidden cable trays, flush mounts, neutral tones) promise calm, but their elegance hides pitfalls: To keep that clean look without cable chaos, start with the right cable management systems.
-
Pros for Space-Constrained Users:
- Ultra-thin trays (0.5" thick) maximize knee clearance.
- Seamless cable channels prevent tripping in tight quarters.
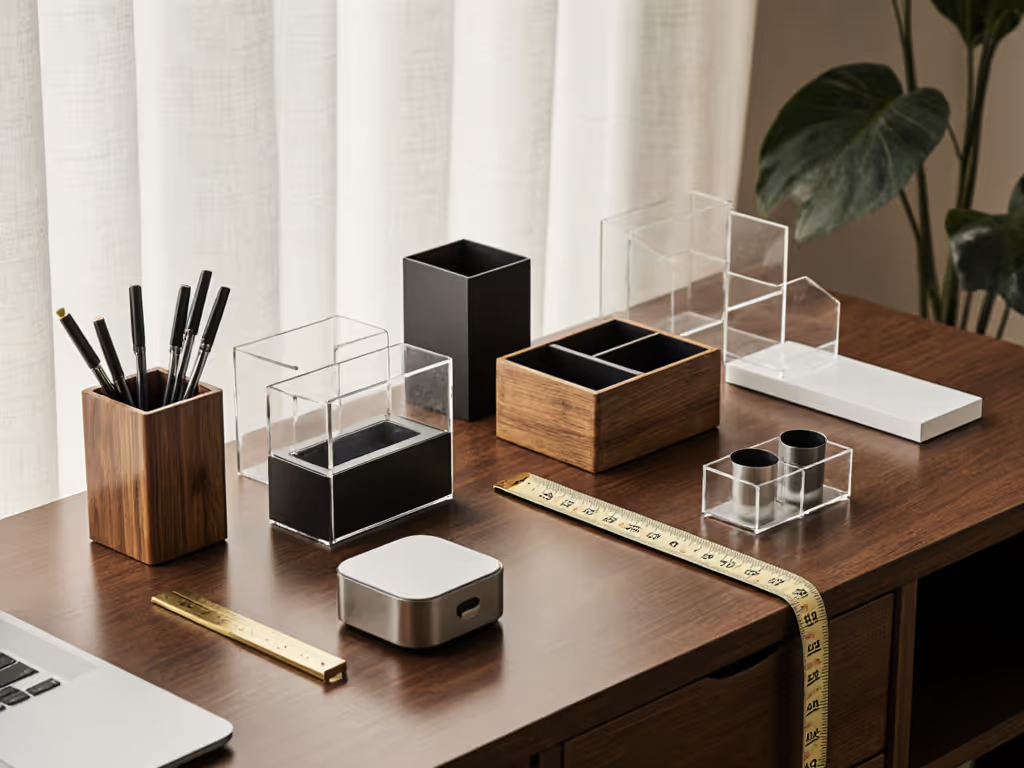
- Contemporary desk organizers tuck under monitors without encroaching on document space.
-
Critical Fit Risks:
- Zero tolerance: Adjustable keyboard trays often lack depth fine-tuning, causing collisions with shallow drawers.
- Power routing gaps: Minimalist desks rarely include under-desk power strips, forcing messy adhesive solutions.
- Scaling friction: Adding a second monitor may expose empty space where cables should be hidden.
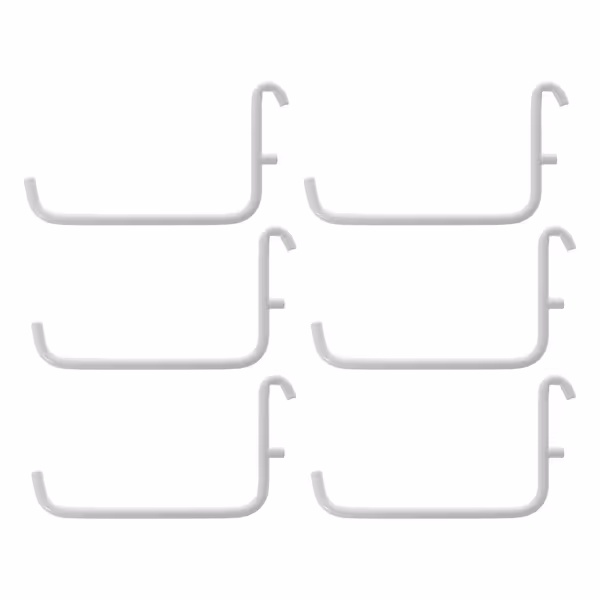
IKEA SKADIS Hooks
Instantly expand SKÅDIS storage, maximizing vertical space and organization.
$13.99
CompatibilityIKEA SKÅDIS Peg Board Systems
CompatibilityIKEA SKÅDIS Peg Board Systems
Pros
Seamlessly integrates with existing SKÅDIS boards.
Powder-coated steel ensures long-lasting durability.
Cons
Display size receives mixed feedback from users.
Customers find that the hooks fit well with IKEA peg boards. The display size receives mixed feedback.
Customers find that the hooks fit well with IKEA peg boards. The display size receives mixed feedback.
Step 3: Future-Proof Your Architectural Desk Organization
The biggest mistake I see? Buying accessories that only fit your current setup. Comfort emerges when clearances match your natural reach arcs, and your future ambitions.
Build Your Upgrade Roadmap
| Scenario | Industrial Pitfall | Minimalist Solution |
|---|---|---|
| Adding a mic boom | Clashes with monitor arms; requires 8"+ wall clearance | Pegboard system (e.g., SKÅDIS) behind desk, mounts gear vertically without wall space |
| Switching to standing desk | Heavy monitor arms strain motors; requires recalibration | Low-profile trays with 1.5" height range adapt seamlessly to sit-stand cycles |
| Ultrawide monitor upgrade | Arm reach exceeds shallow desks; causes neck strain | Measure your seated eye height, if ≤32", use a low-riser stand (not an arm) to keep viewing distance optimal |
Renter-Specific Fixes That Respect Walls
- For industrial setups: Use grommet mounts instead of clamps. They drill through the desk (renter-friendly with putty) but avoid wall damage.
- For minimalist setups: Pegboard systems mount to existing wall anchors, no new holes. Customize hook layouts as your needs evolve. For a tested small-space workflow, see our pegboard desk system setup.
Risk Note: Adhesives seem renter-safe but fail under weight. If your monitor >15lbs, always use mechanical mounts. Your clearance map dictates what's safe.
Step 4: The Final Clearance Test - Before You Click "Buy"
Stop gambling on returns. Apply this 3-step verification for any desk accessory:
- Check the "reach arc": Sit at your desk. Extend your arm straight out. Mark where your hand lands. This is your max functional depth. If the accessory extends beyond it, skip it.
- Simulate collisions: Place a book where your chair's armrests sit. Add a shoebox for drawers. Will the accessory fit with these obstacles?
- Verify upgrade paths: Does the product list exact compatibility ranges (e.g., "desk thickness: 0.6-2.4"")? Vague terms like "fits most desks" are return red flags.
Why Dimensions Trump Aesthetics Every Time
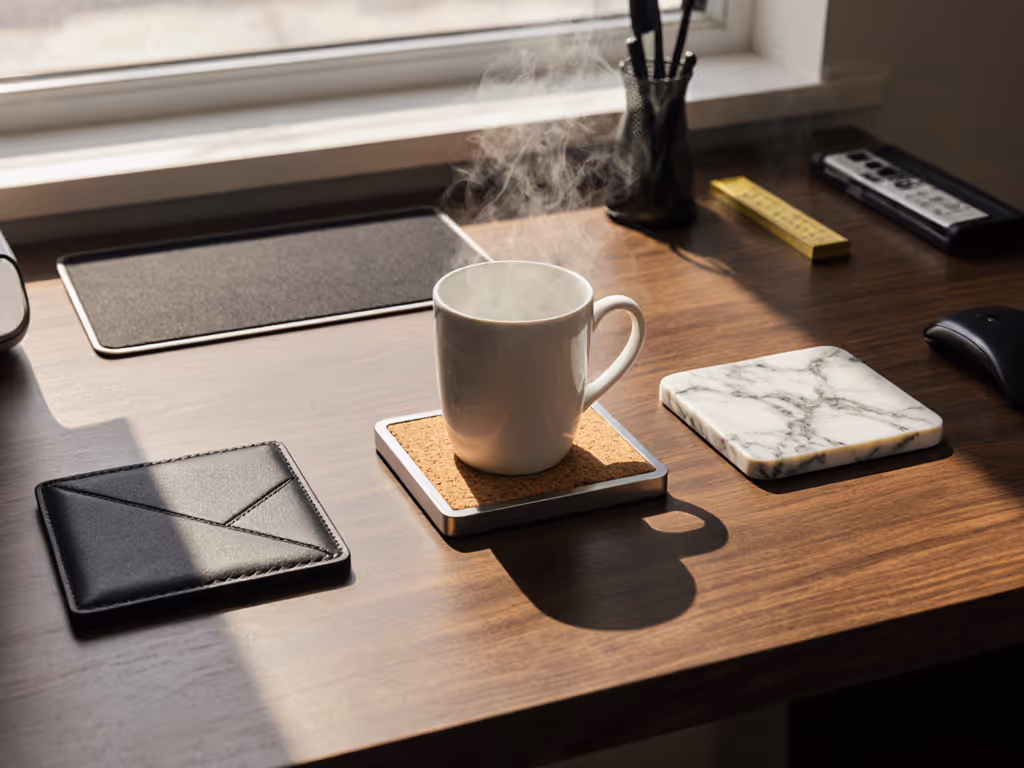
That industrial monitor arm might look cool, but if it forces you to sit 2" too far back, your neck will pay the price. That minimalist leather mouse pad? If it eats 1" of your already-shallow desk depth, it shoves your keyboard into a wrist-extension zone.
I've audited creators using $1,200 battlestation setups who had chronic shoulder pain, all because a single clamp mount reduced their monitor reach arc by 3". Fix the geometry first. Then pick finishes that calm your visual field.
Actionable Next Step: Build Your Dimension Dossier
Your mission today: Grab a tape measure and sketch your desk's collision map. Note:
- Desk depth at your elbow height
- Crossbar thickness and height from floor
- Wall clearance with chair pulled in
With these numbers, you'll instantly filter out misfits, whether industrial or minimalist. No more "temporary" purchases that clutter your space and budget.
Industrial vs minimalist isn't a style choice, it's a dimension puzzle. When clearances align with your reach arcs, productivity isn't aspirational. It's measurable.
Your body is the brief. Measure accordingly.
Related Articles